Creating a New Reading List (or Rollover)
Summary: This guide will outline how to create a new list or rollover an existing list within eReserve Plus.
Introduction
There are two approaches to create reading lists. You can either rollover resources from an existing list or create a new list and add resources from your library collection.
Rollover an Existing List
- Click the New List button.

-
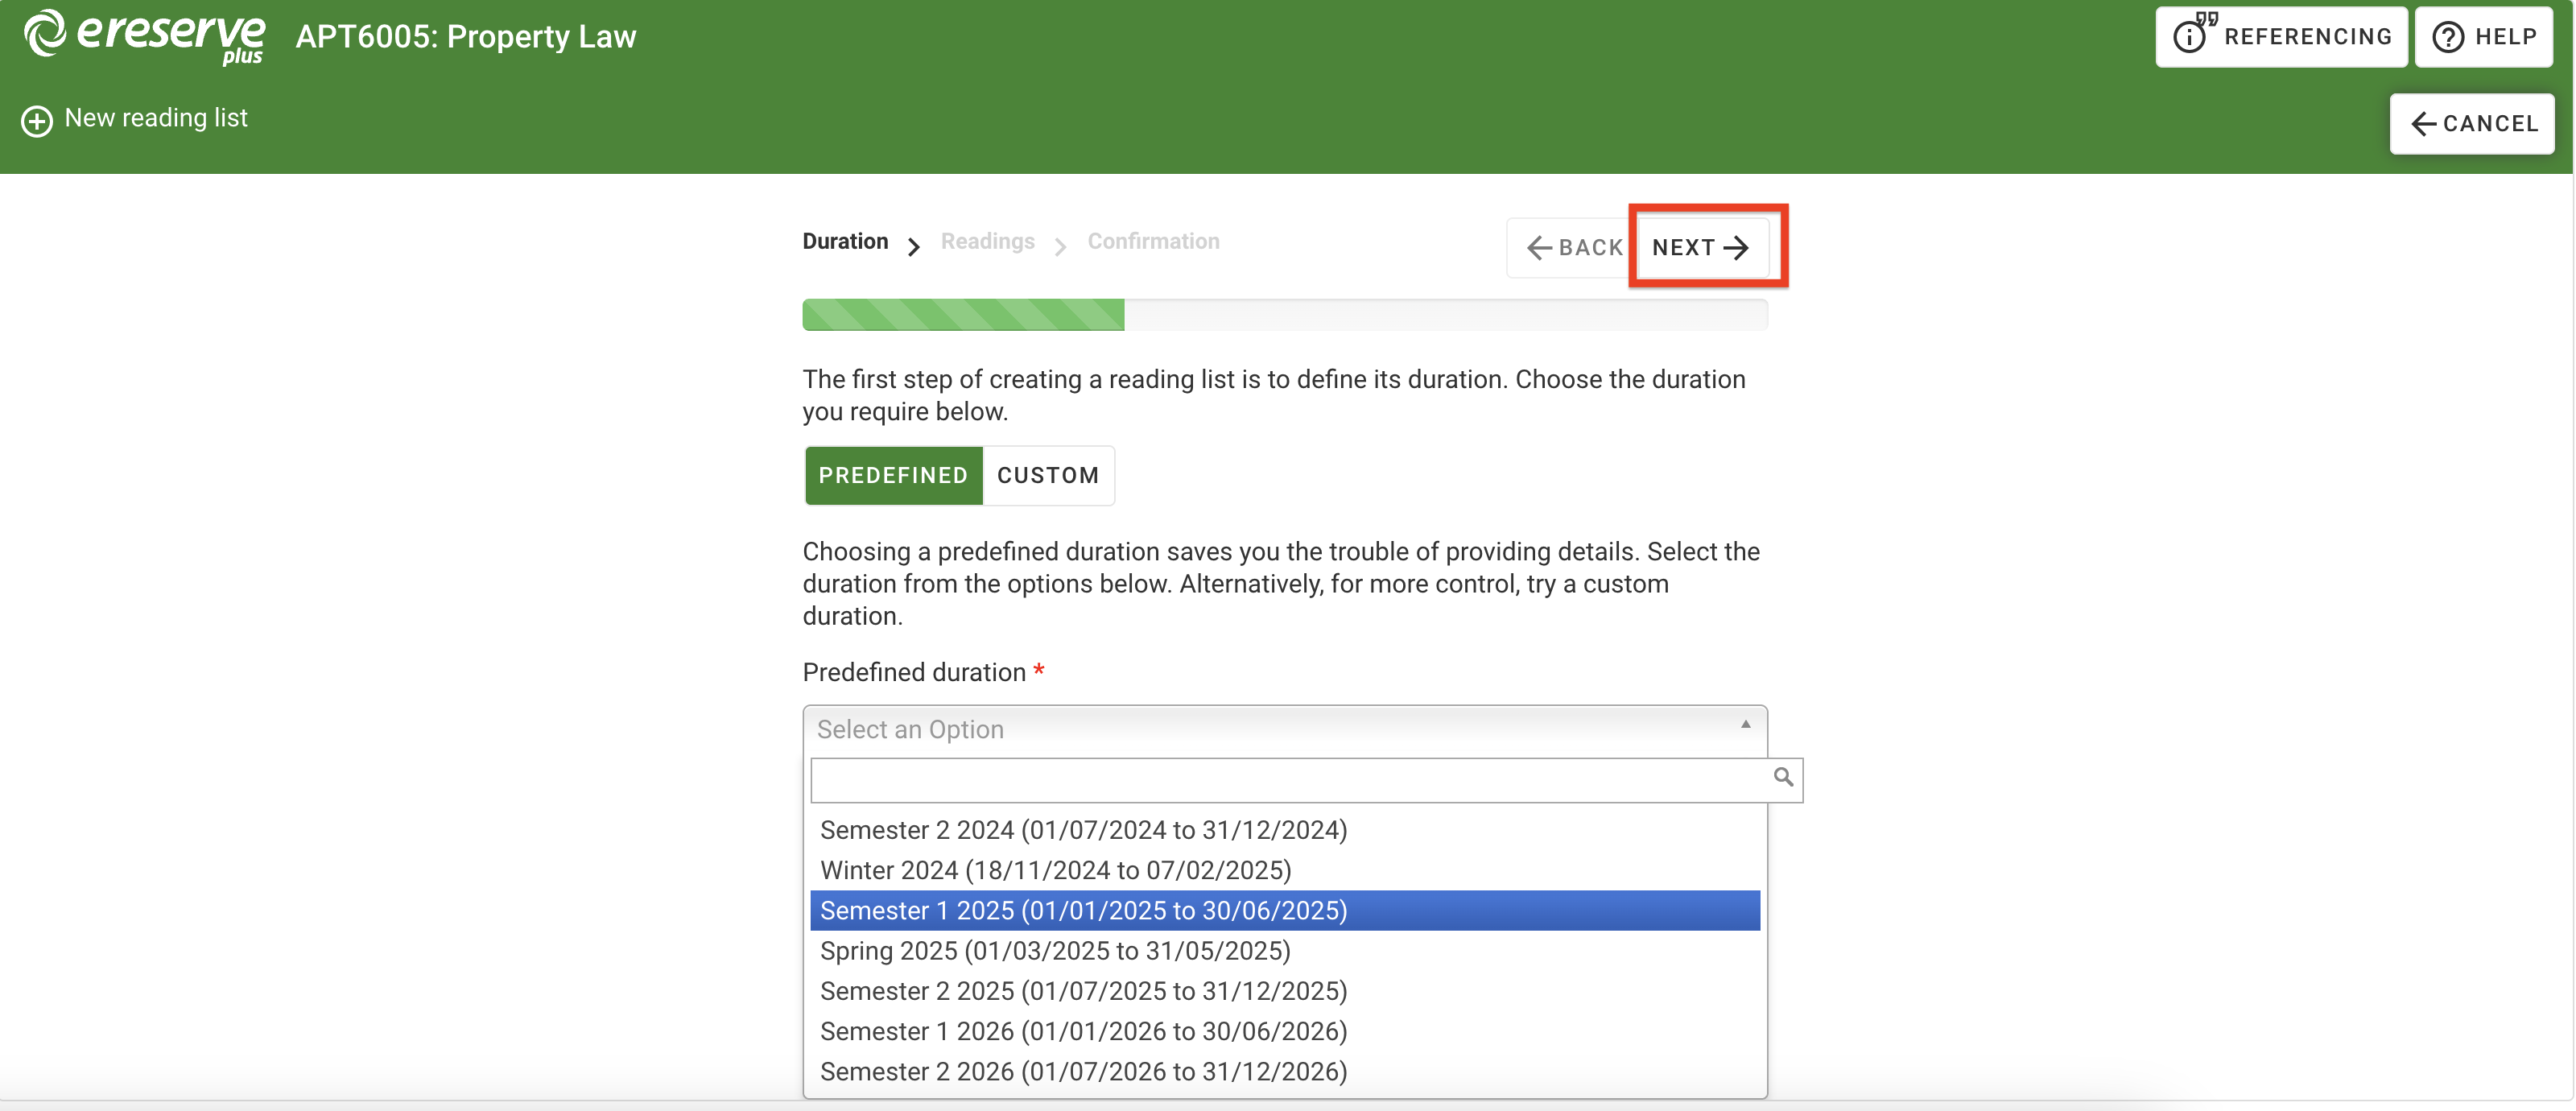
Select the Duration of the List. You can select either a predefined duration, which are created and managed by the library team, or you can create a custom duration. Please note that you are not able to create multiple lists with the same predefined duration.
-
After selecting the Duration, click Next.

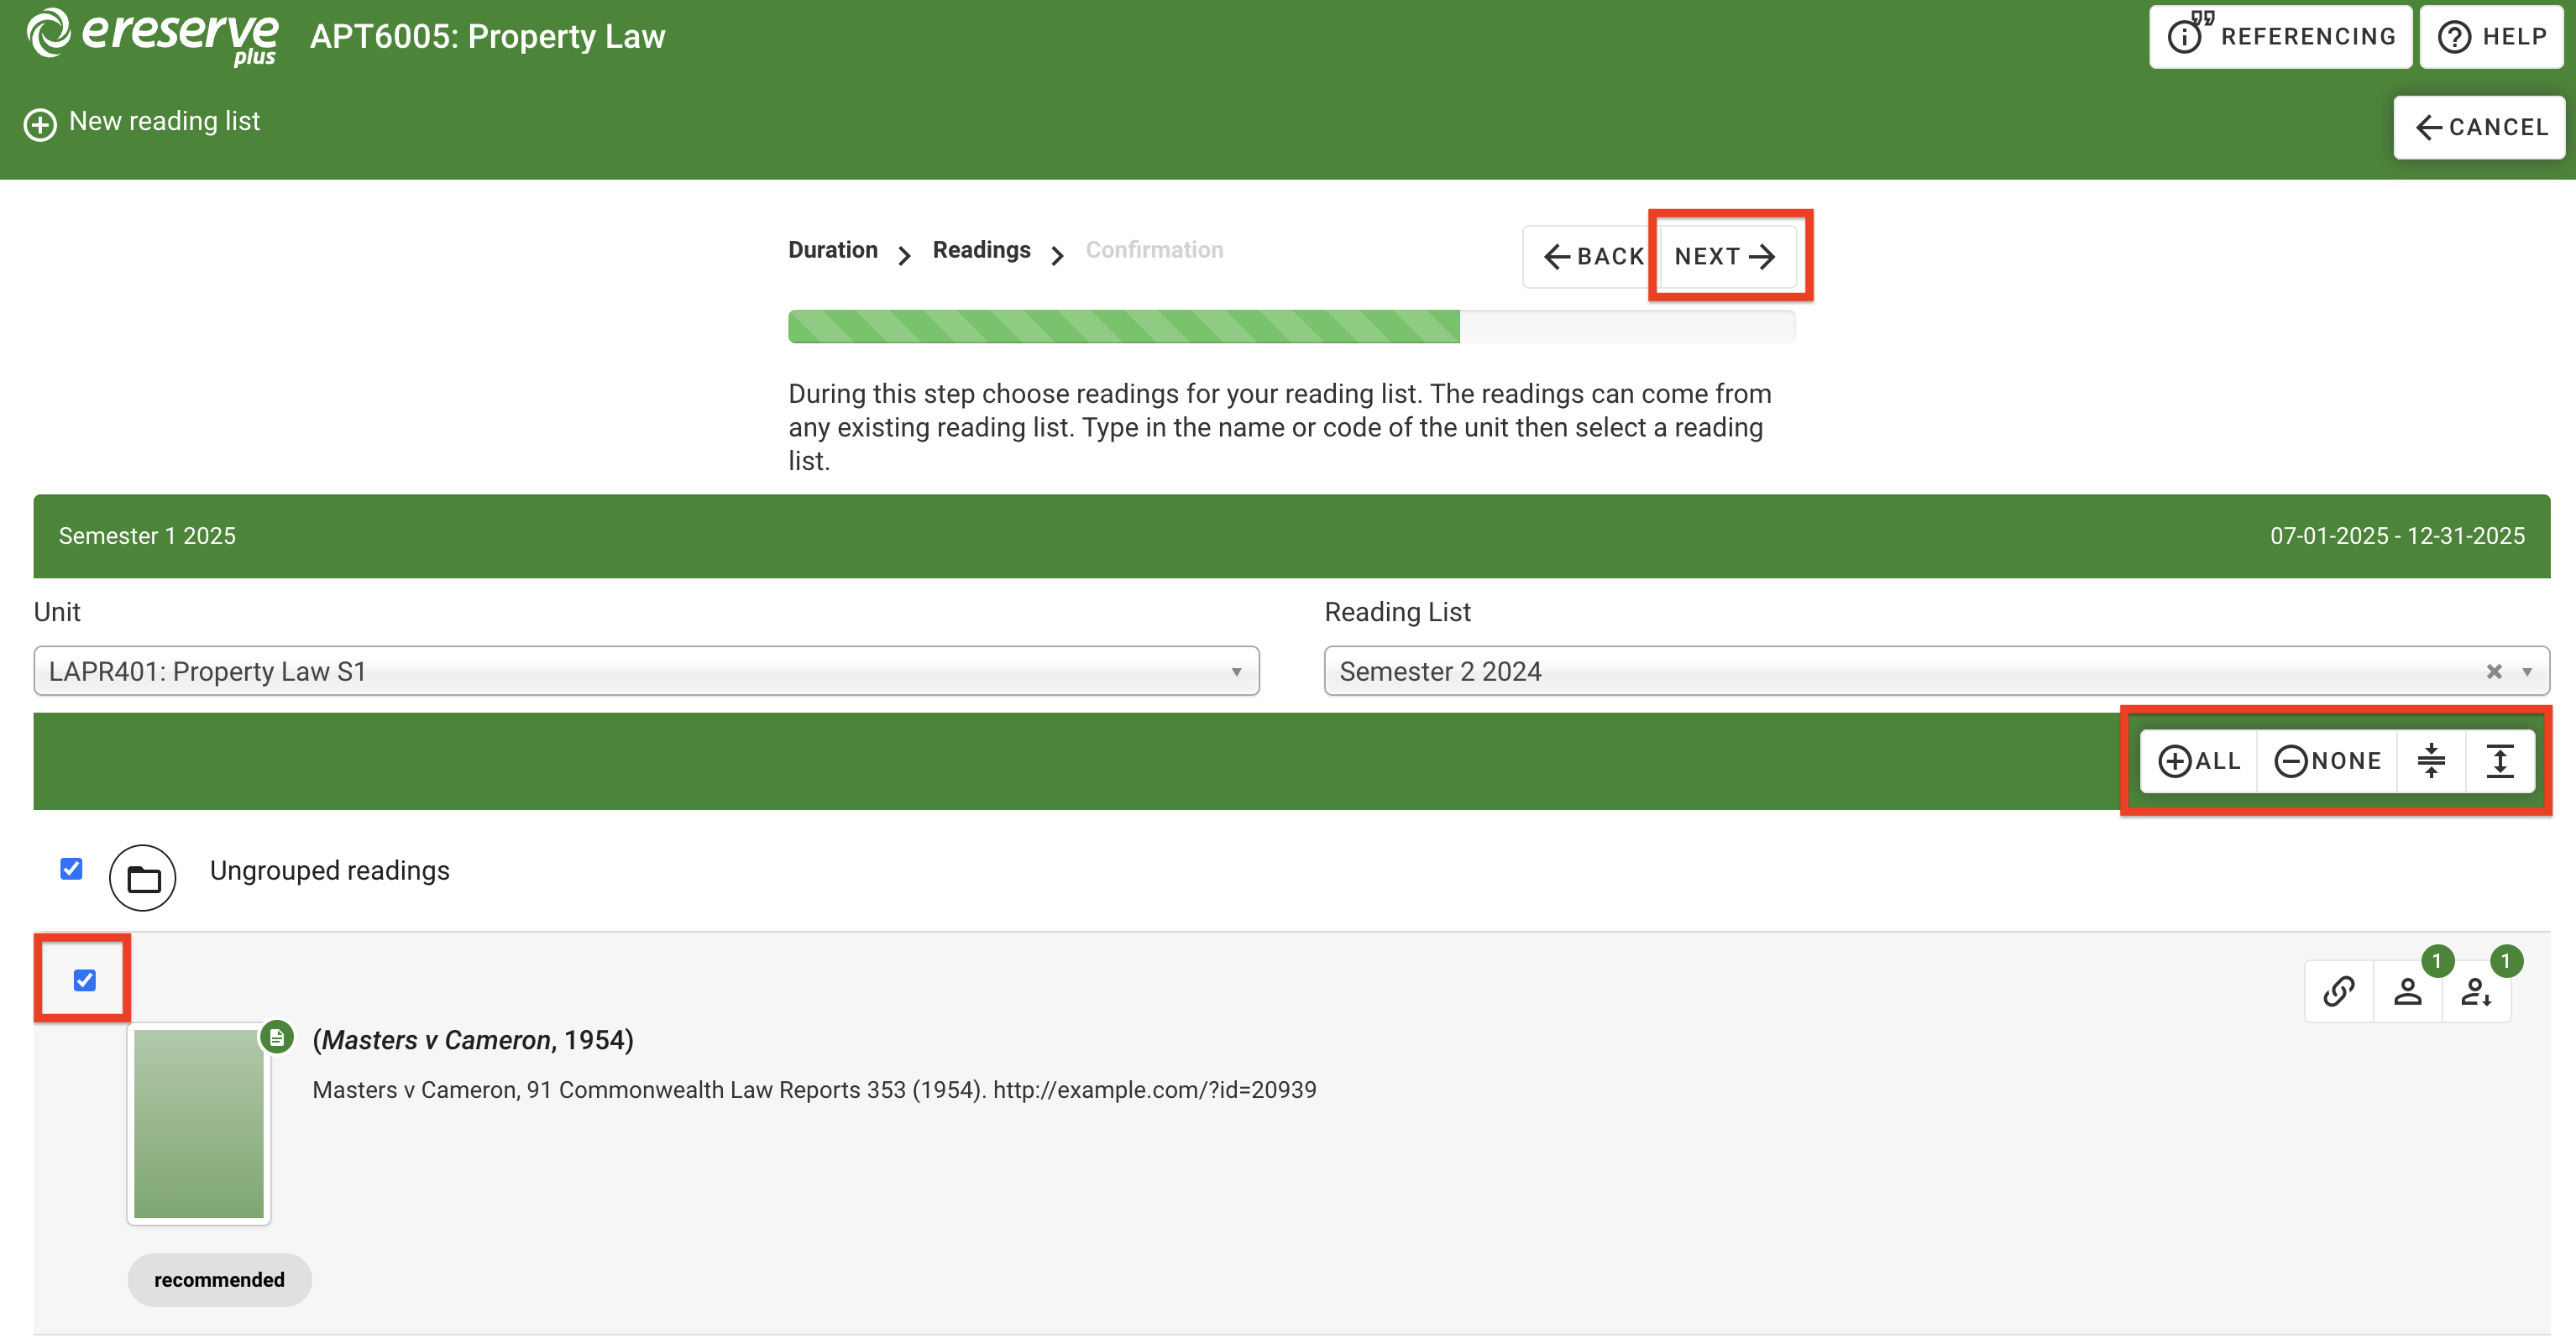
- Click the Unit dropdown, then type the name of the course or unit code in the field. Select the course that contains the list you wish to reuse resources from.

- Click the reading list you’d like to reuse resources from on the right hand side dropdown. Reading lists are ordered by date.

- Once selected, the page will refresh and display the selected list’s resources and groups. Please note that only resources that have a status of 'Active' can be rolled over.
From here, you can perform any of the following actions:
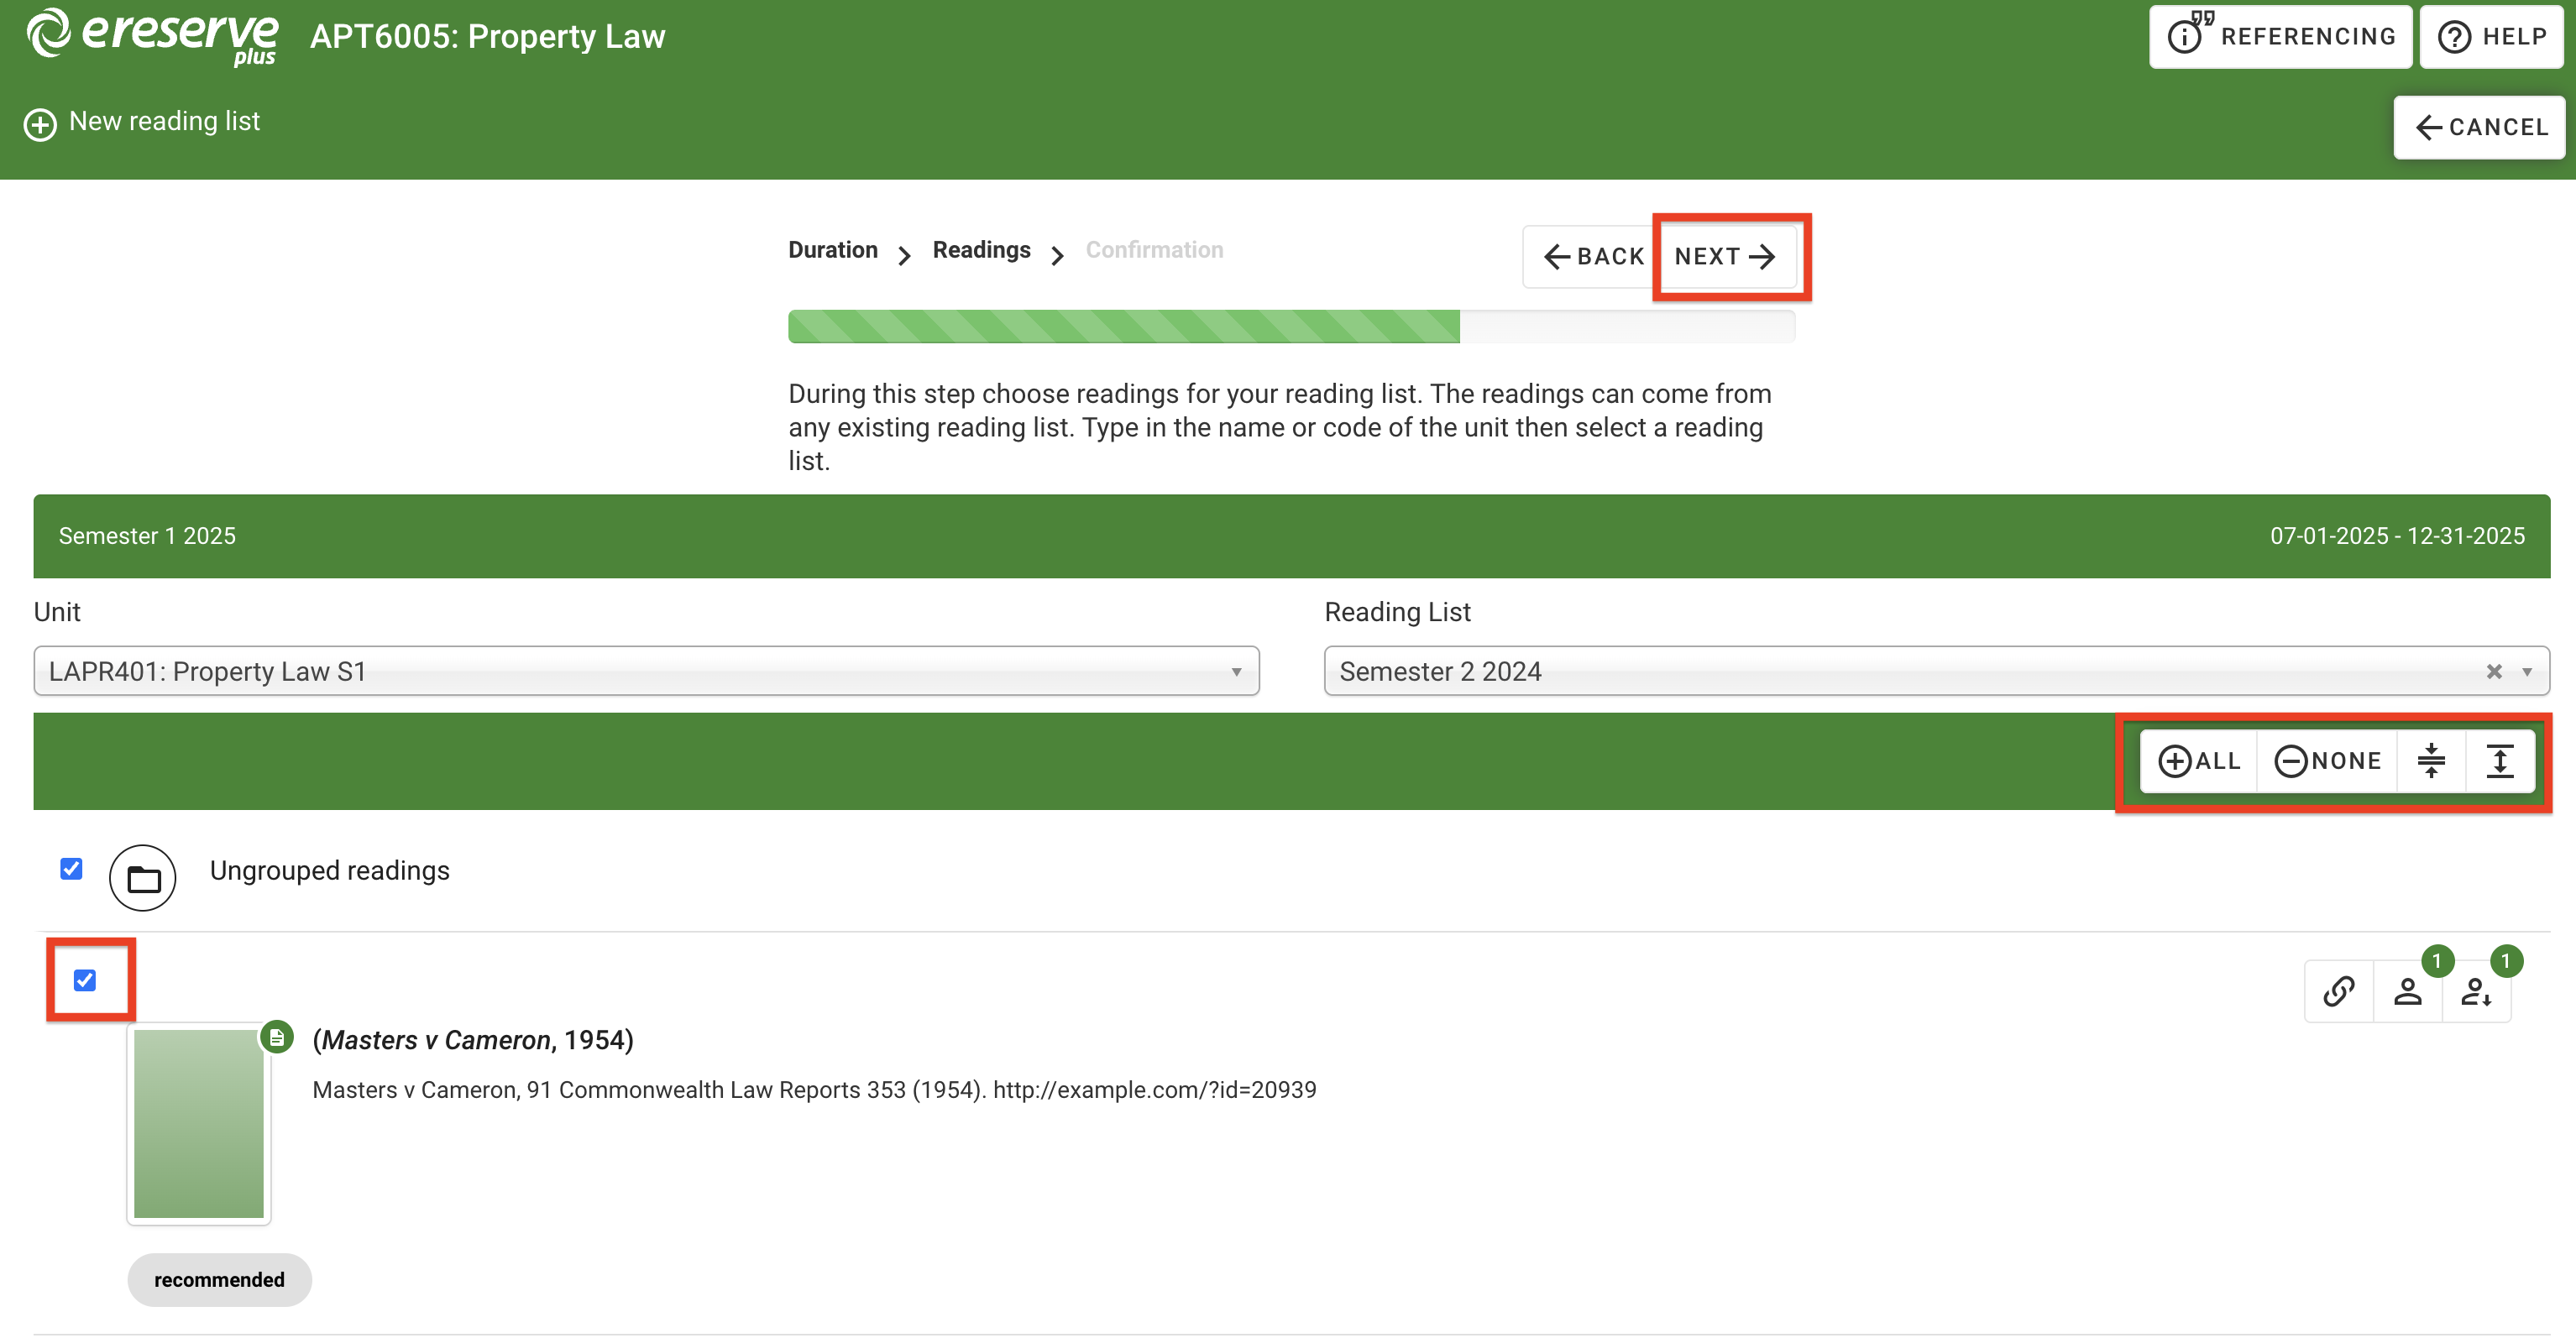
- Click the expand icon to expand all groups in the list and the collapse button to close all groups.
- To select all resources, click the All button.
- To select each resource individually, click the item check boxes next to the resources to select individual resources or a group of resources
- To select resources by group, click the check box to the left of each group
- Click None to deselect all selected resources

- Click Next to proceed to the Confirmation page, where you will confirm the resources selected. If the selected resources require editing, click Back to return to the selection page.

- Click Create to create the list with the selected resources.

Create a New List
- Click the New List button.

-
Select the Duration of the List. You can select either a predefined duration, which are created and managed by the library team, or you can create a custom duration. Please note that you are not able to create multiple lists with the same predefined duration.
-
After selecting the Duration, click Next.

- On the Readings page, click Skip to proceed to the Confirmation page.

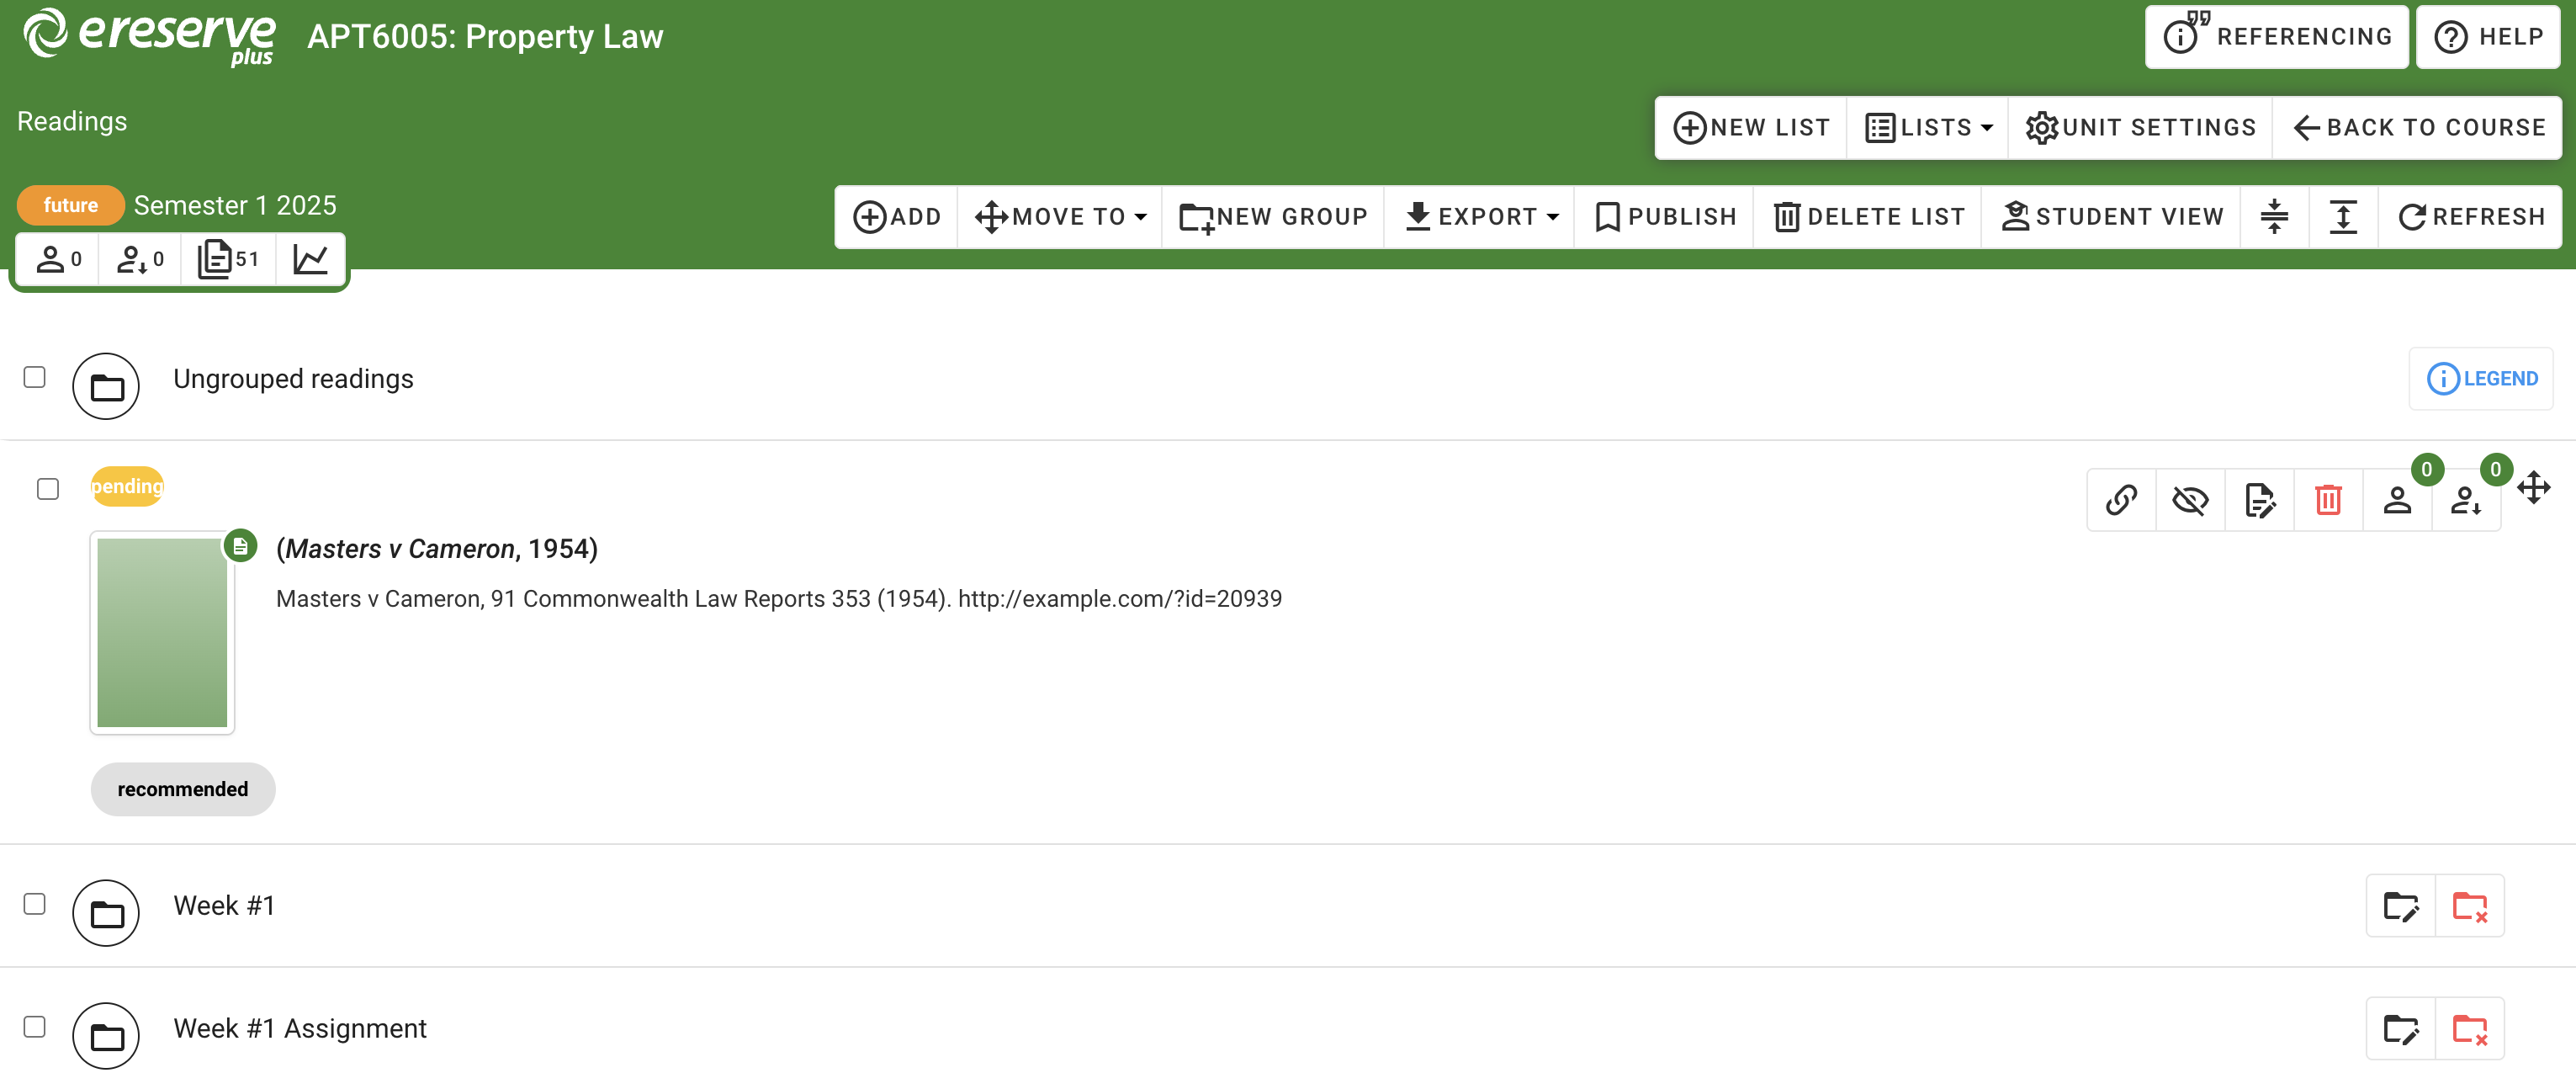
- Click Create to create a new blank list with no resources.


With your new, blank list created, it is ready to be populated with resources. Please navigate to either of the following links for more documentation on how to add resources individually or in bulk using the RIS import feature.