
Resource List Breakdown
Lists in eReserve Plus have a simple and easy to use interface for you to quickly navigate through your resources.
When you access your list, you'll see something similar to the following screen:
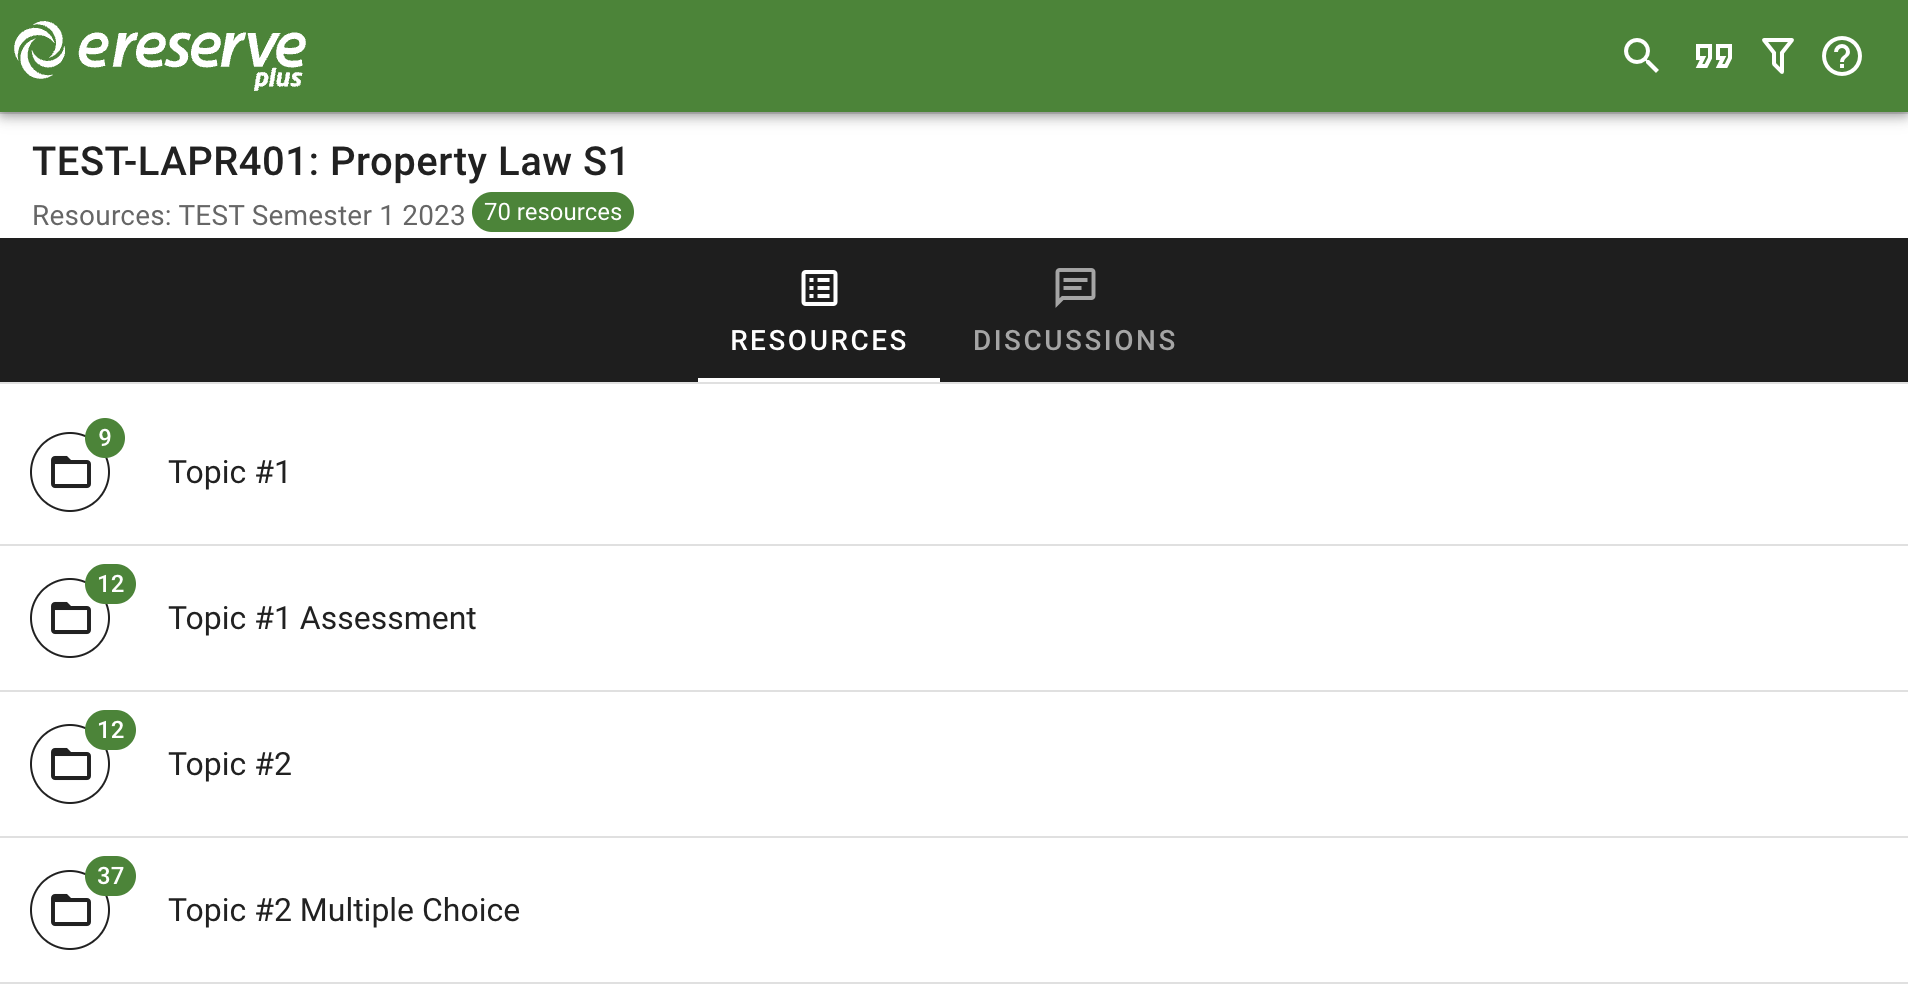
On the top left underneath the 'top menu navigation', you can see the list details. This includes the Course name, list name, and number of resources the list contains.

On the top right of the top navigation, you'll find some additional options for navigating and managing your list.
- Searching: Click here to use the search function if you want to find a particular resource by using keywords, such as title, author, etc.
- Exporting Citations: This is for exporting the citation of the list, which is useful for using in your work and study notes.
- Filtering: Filter your list by resource type, resource importance (Required or Recommended) or whether you have opened or unopened the resource
- Help Documentation: You can access the help documentation and FAQ anytime by clicking this button.

Listed below the headers and course details are the resources for your course. They may be listed individually and/or organised into groups.
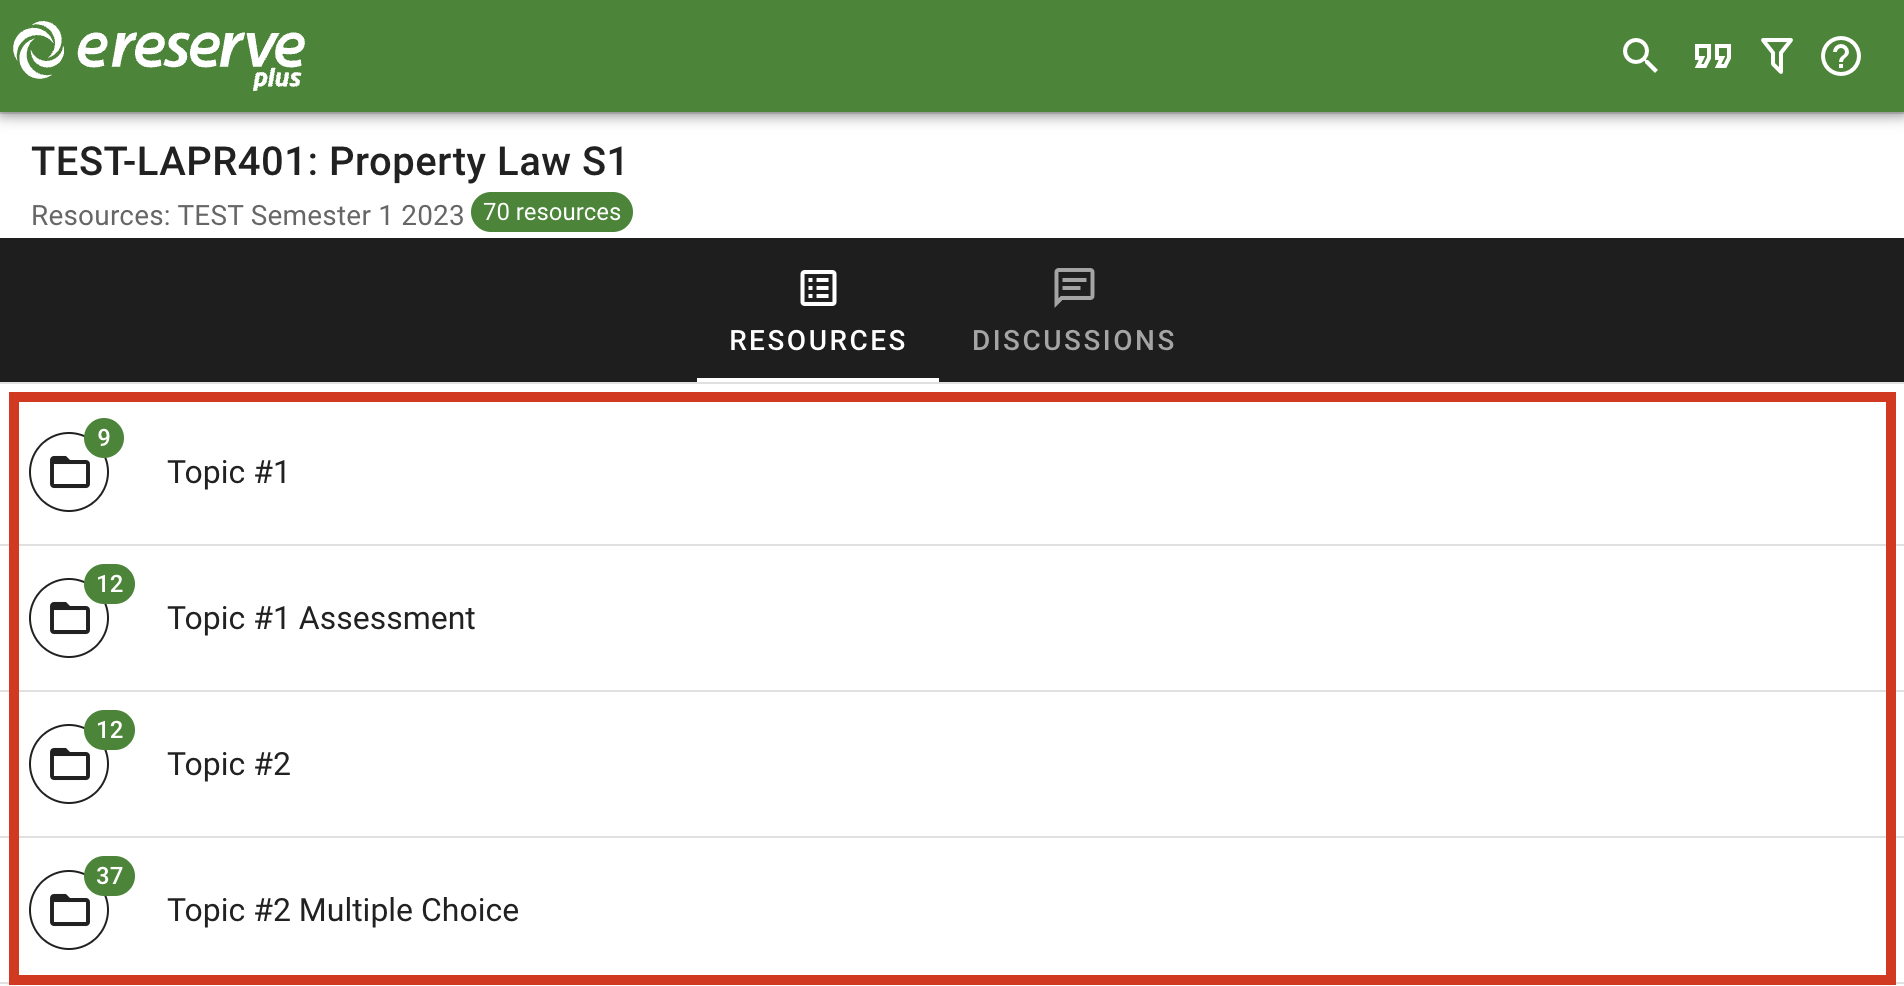
Resources
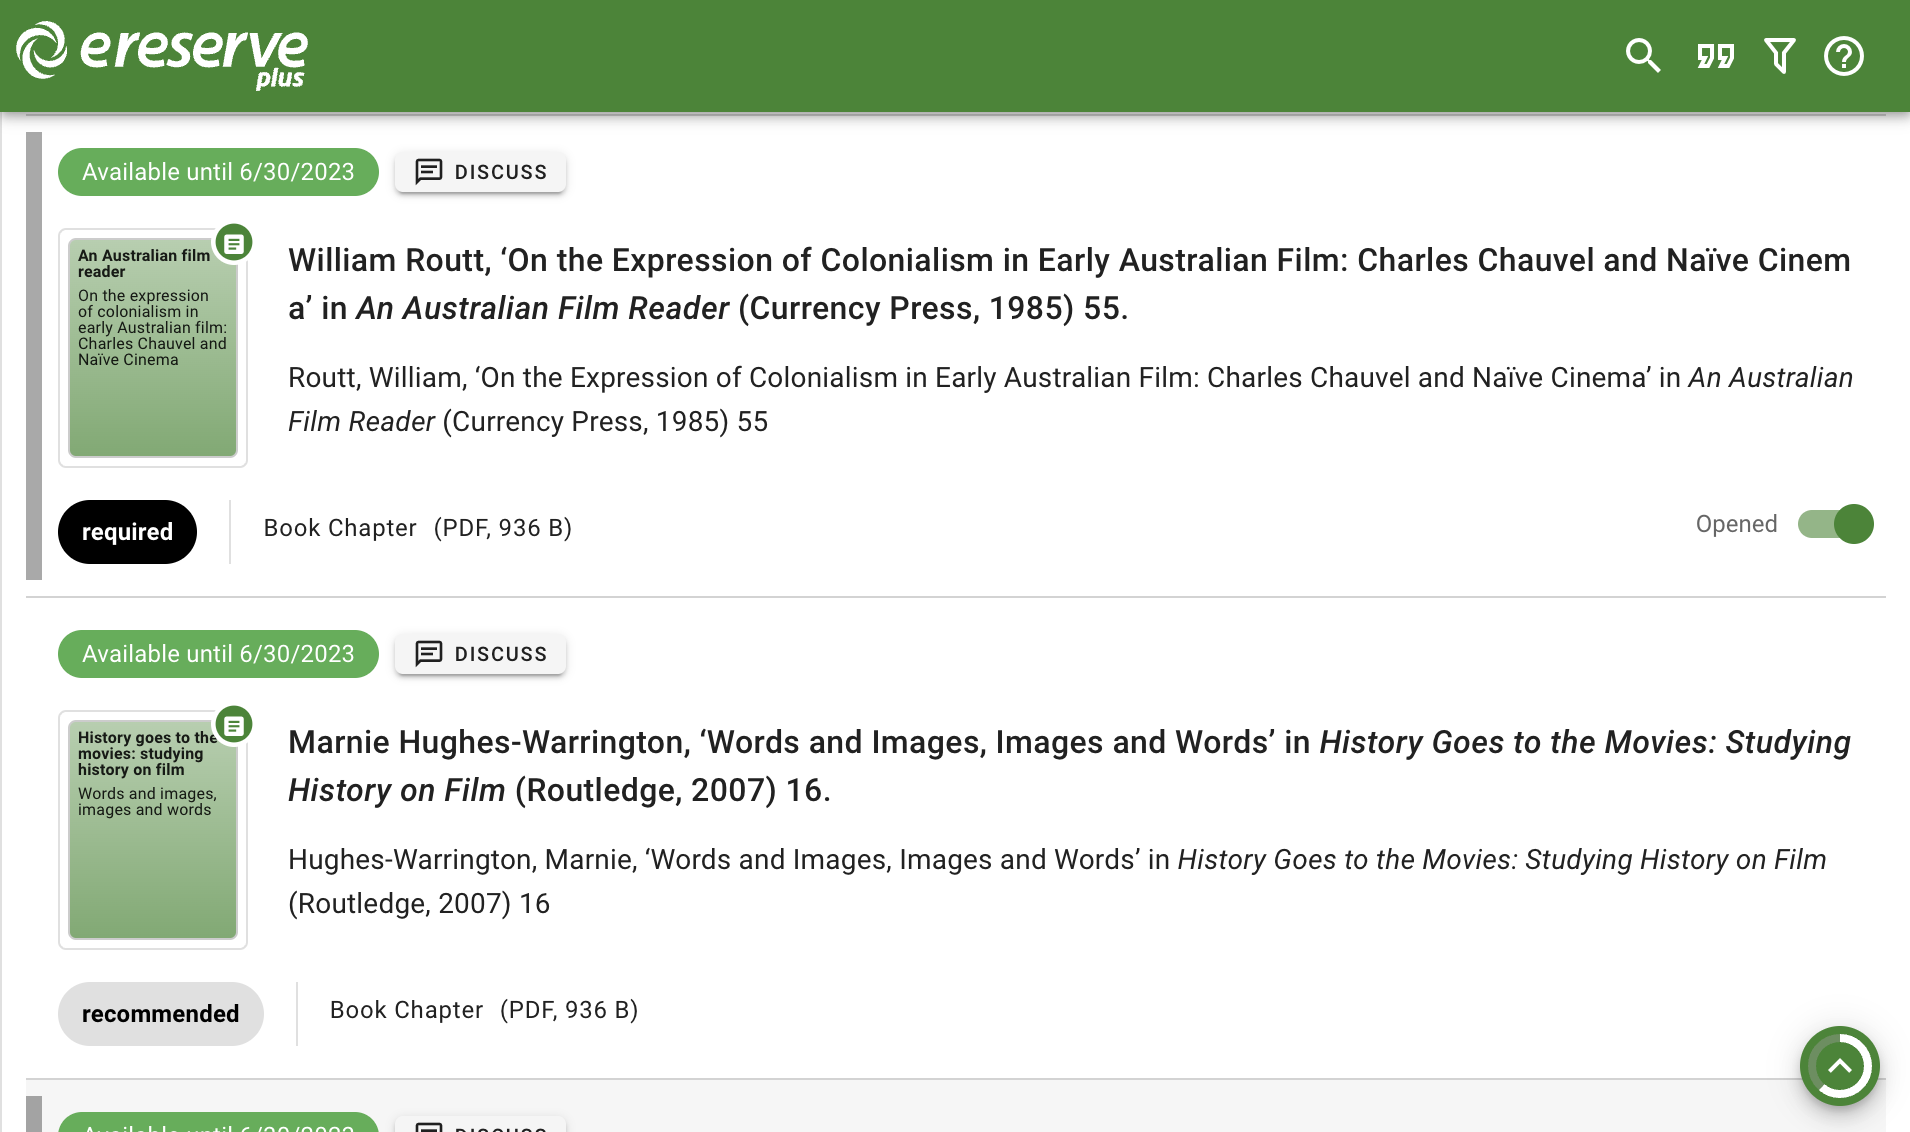
Each resource contains the following details:
- The dates of availability for the resource.
- The Resource Importance label(Required or Recommended). All resources will have one of these two labels.
- The Resource citation. This includes the title, author, year of publication and other pieces of information about the resource.
- The Resource type details. Specifically, what type the resource is, if the resource is link based or file based and the size of the file.
- If the Resource has been opened/unopened.
Groups
Lists may have one or multiple groups/folders of resources, marked by the folder icons beside the group name. These icons will also show how many resources are contained within the group.
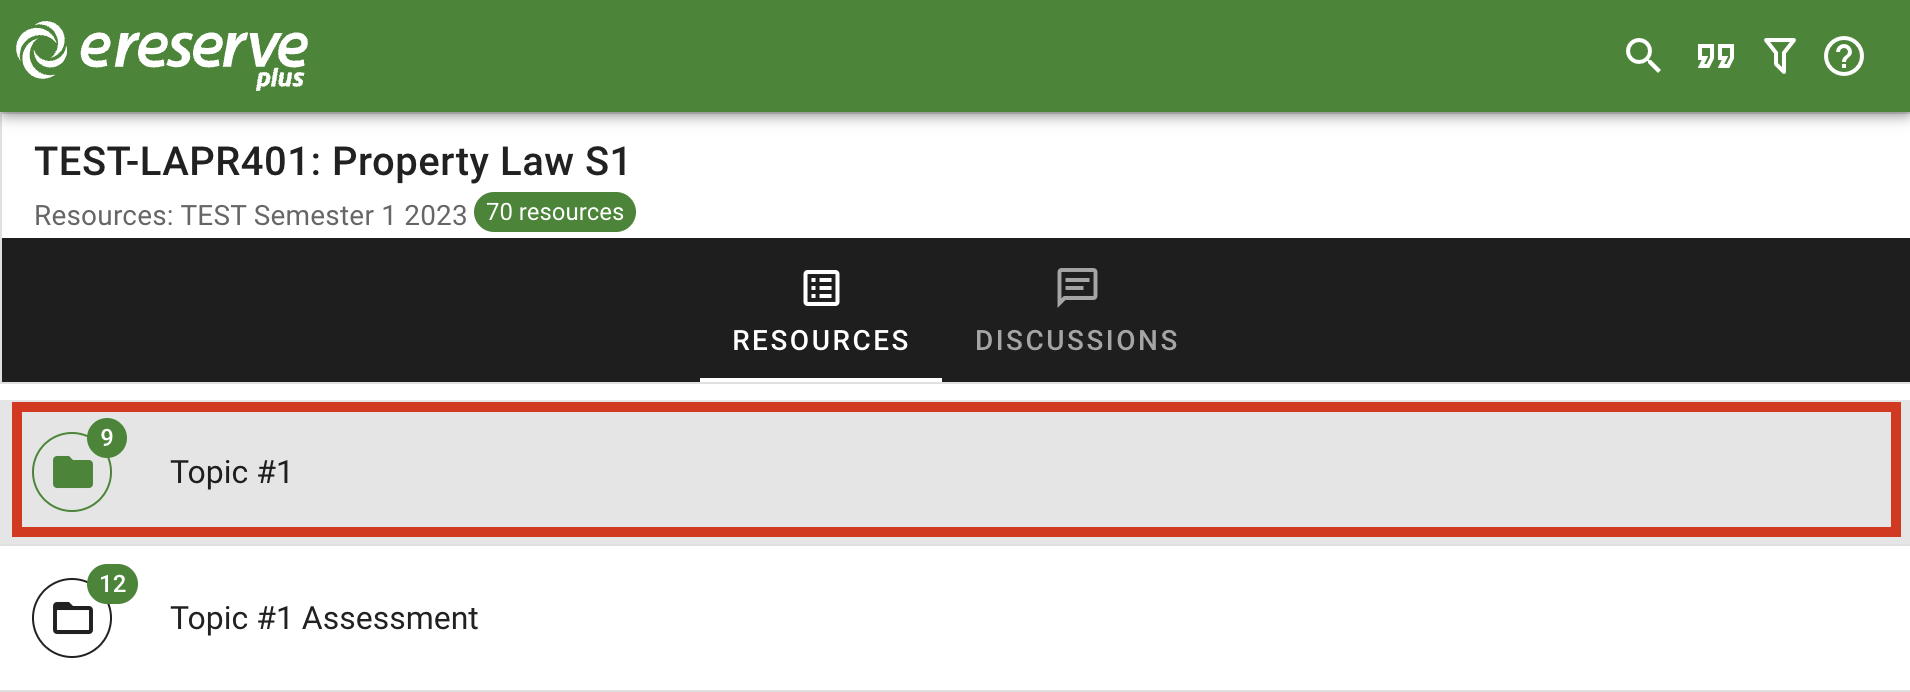
To open a group/folder, simply click anywhere on the group. This will open to the top of the list of resources within the group.
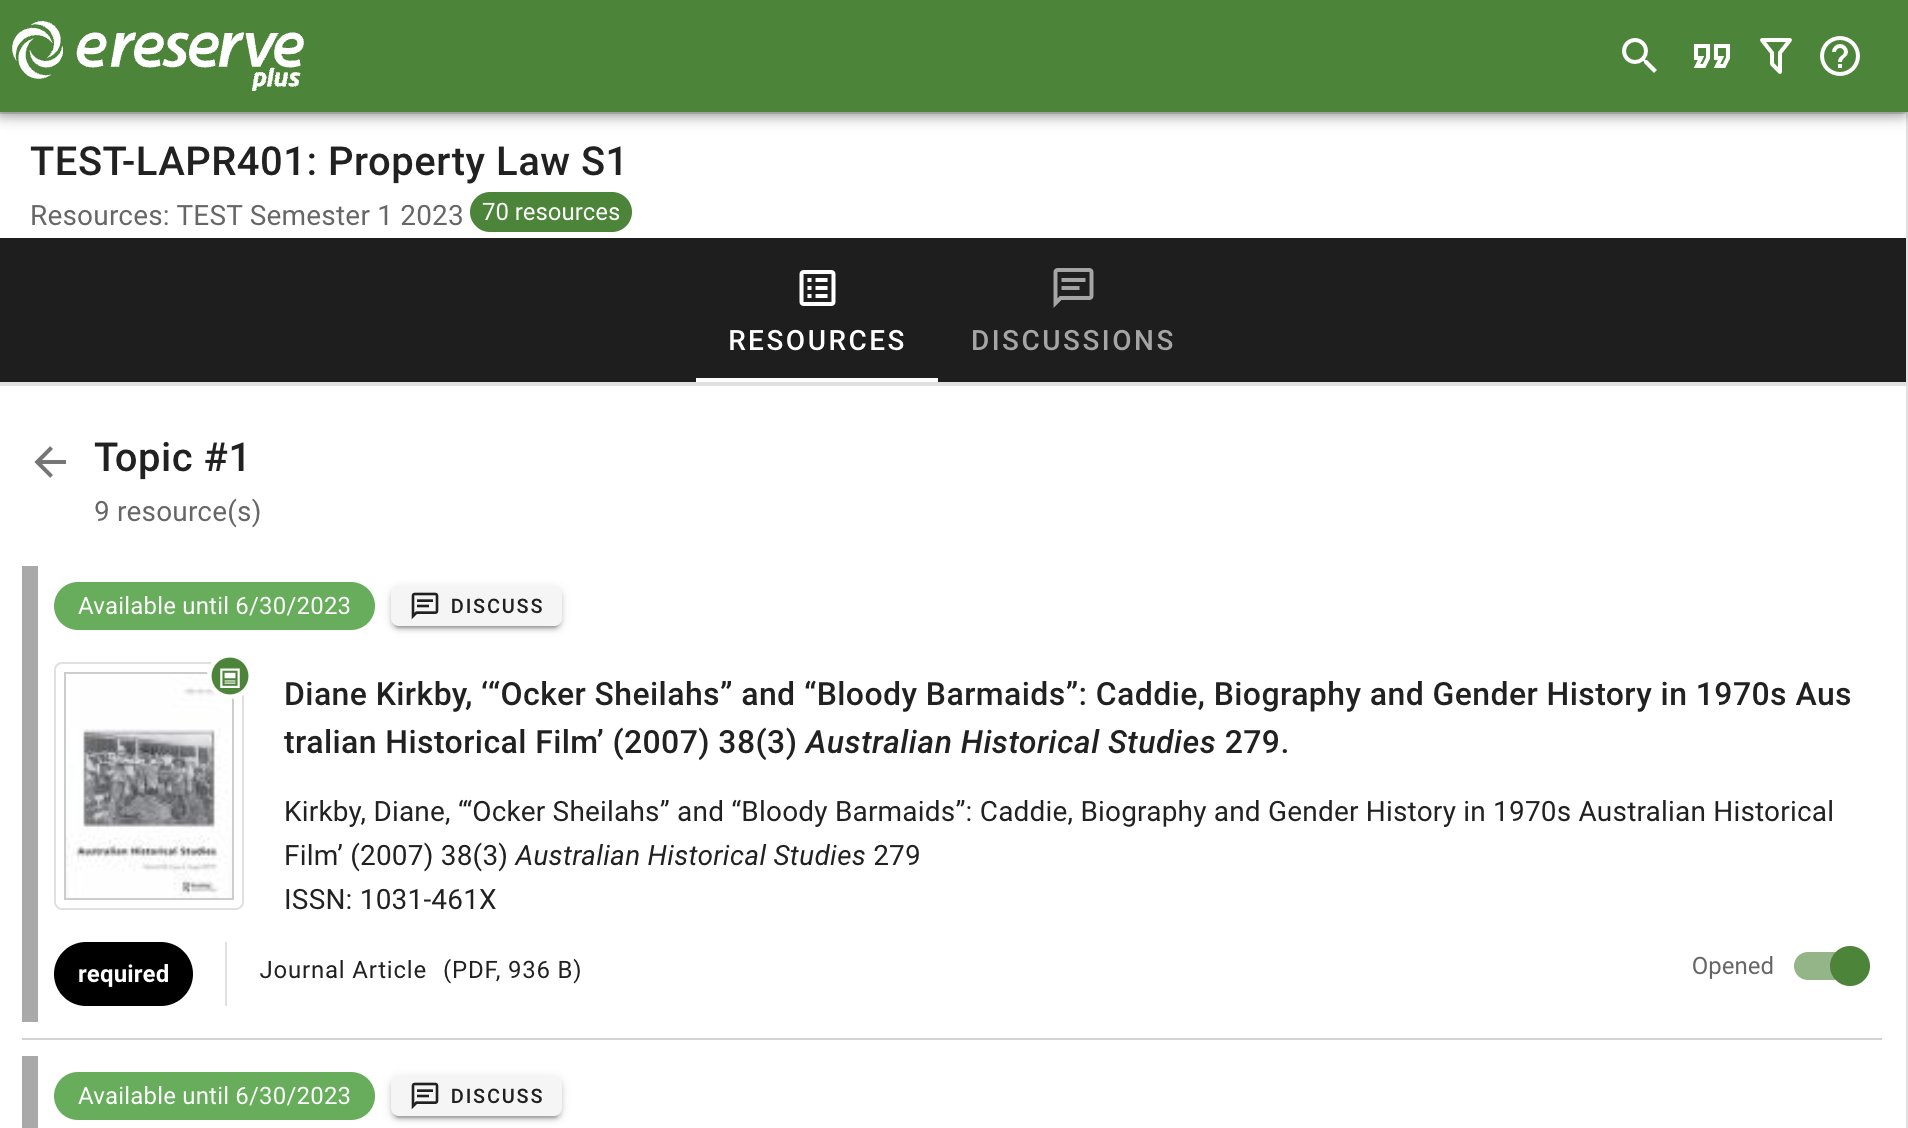
To return to the main list page, click on the back arrow located on the left of the Group name.
List Navigation
As you scroll through your list, a green button will appear on the bottom right corner of the list.
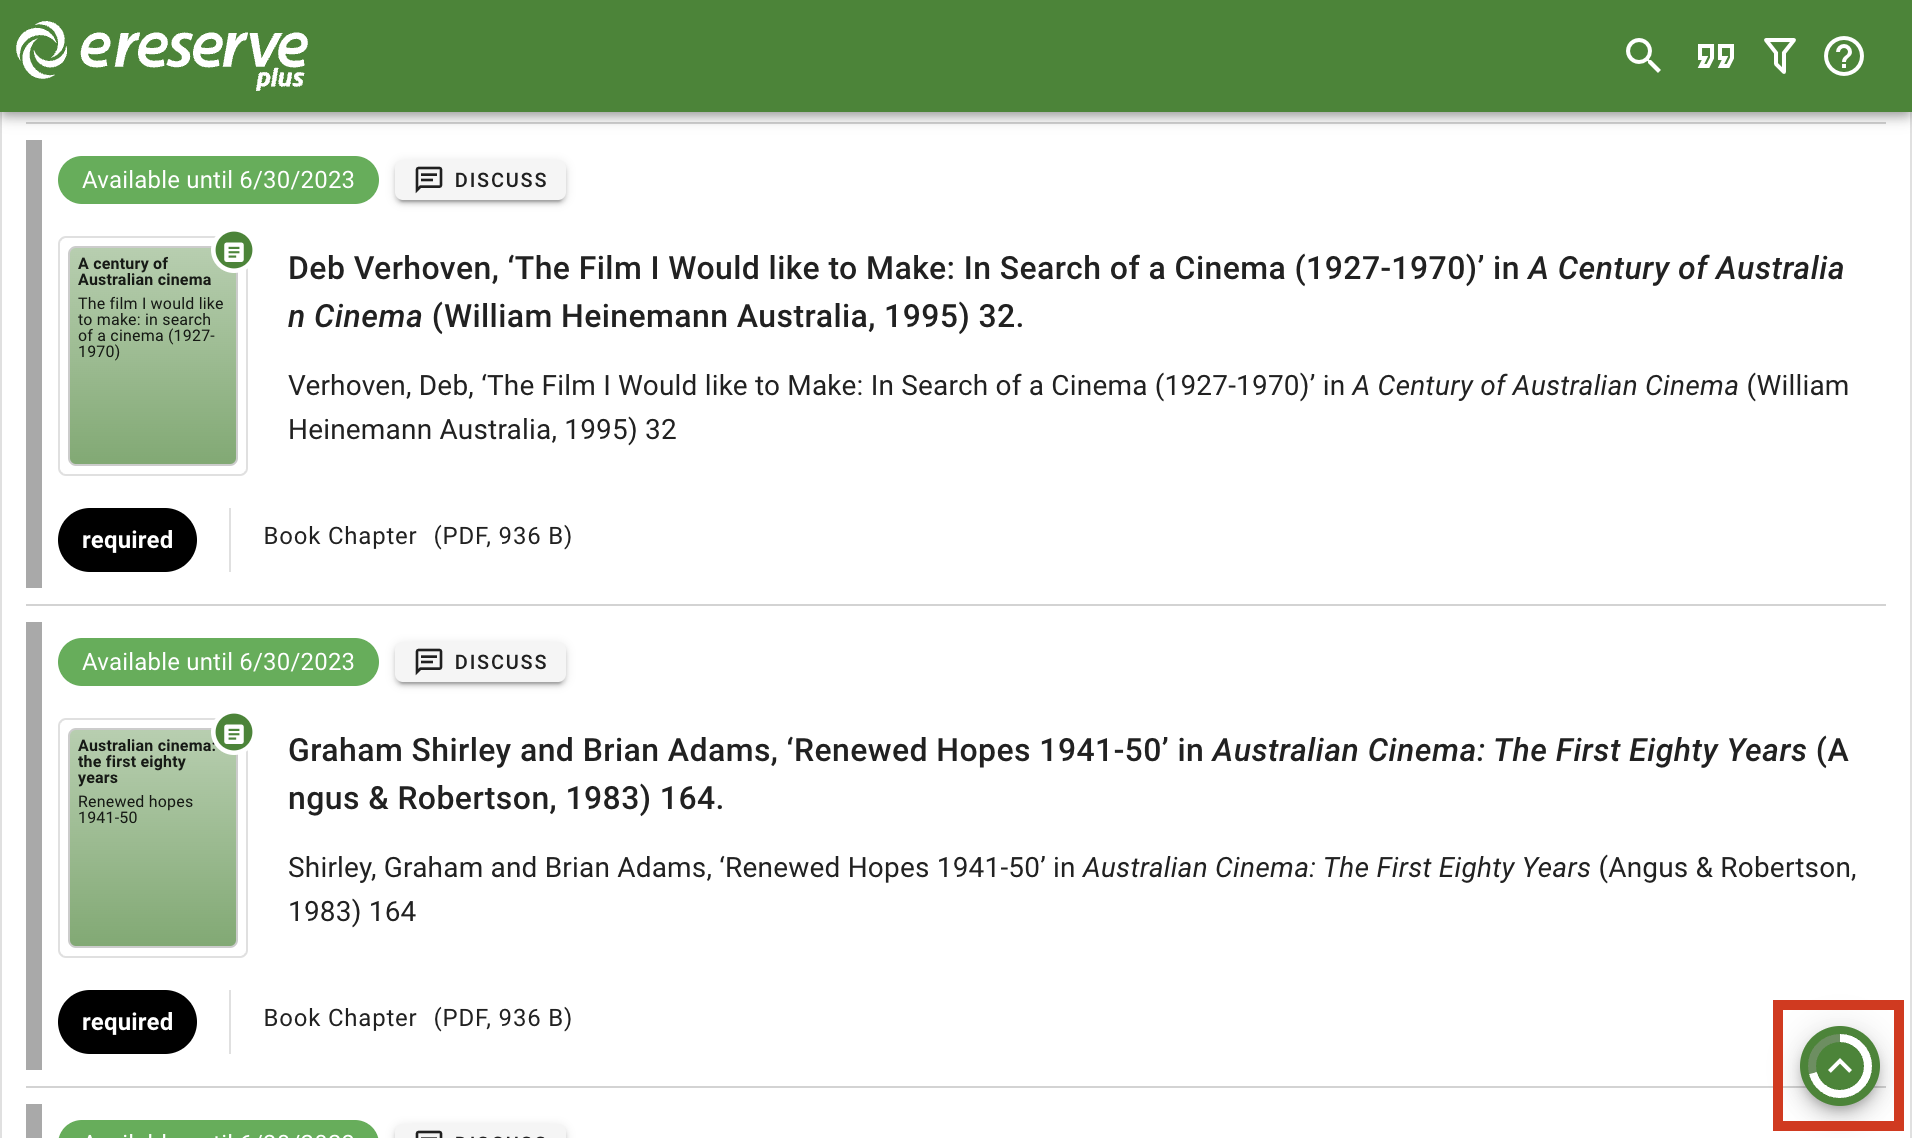
Clicking on this button will take you to the top of the list anytime. This button also helps indicate how far down you've scrolled on your list.