Student Theme Configuration
Student List Theme Configuration
eReserve Plus offers an easy way to theme the student resource list to match your institution colours and display your logo. The theme editor also includes options to customise and display a citation disclaimer and student help resources.
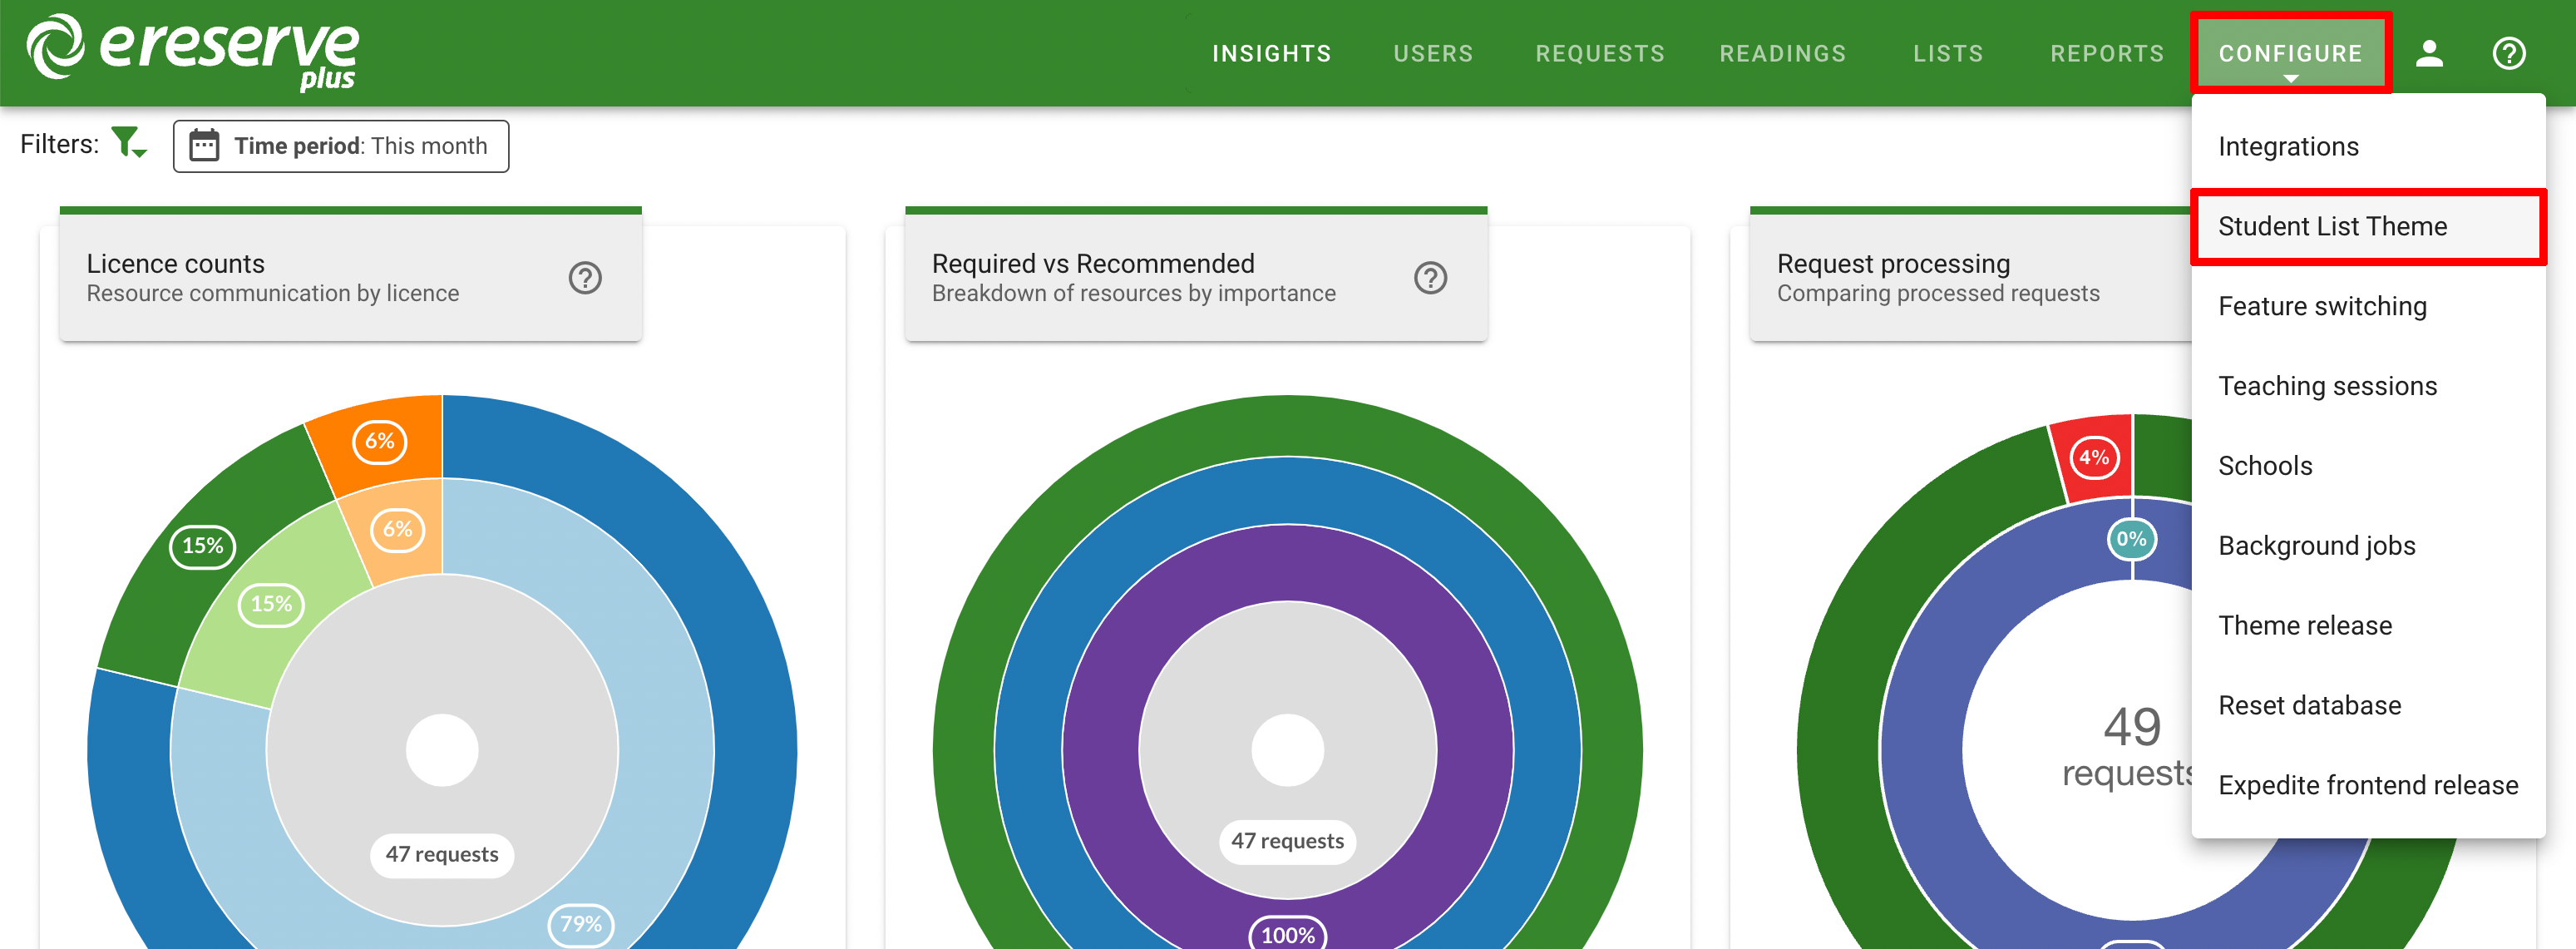
You can begin navigating to the Configure menu and selecting Student List Theme.
Please note that the Student List Theme menu option will only be available to Librarians that have the Site Manager role
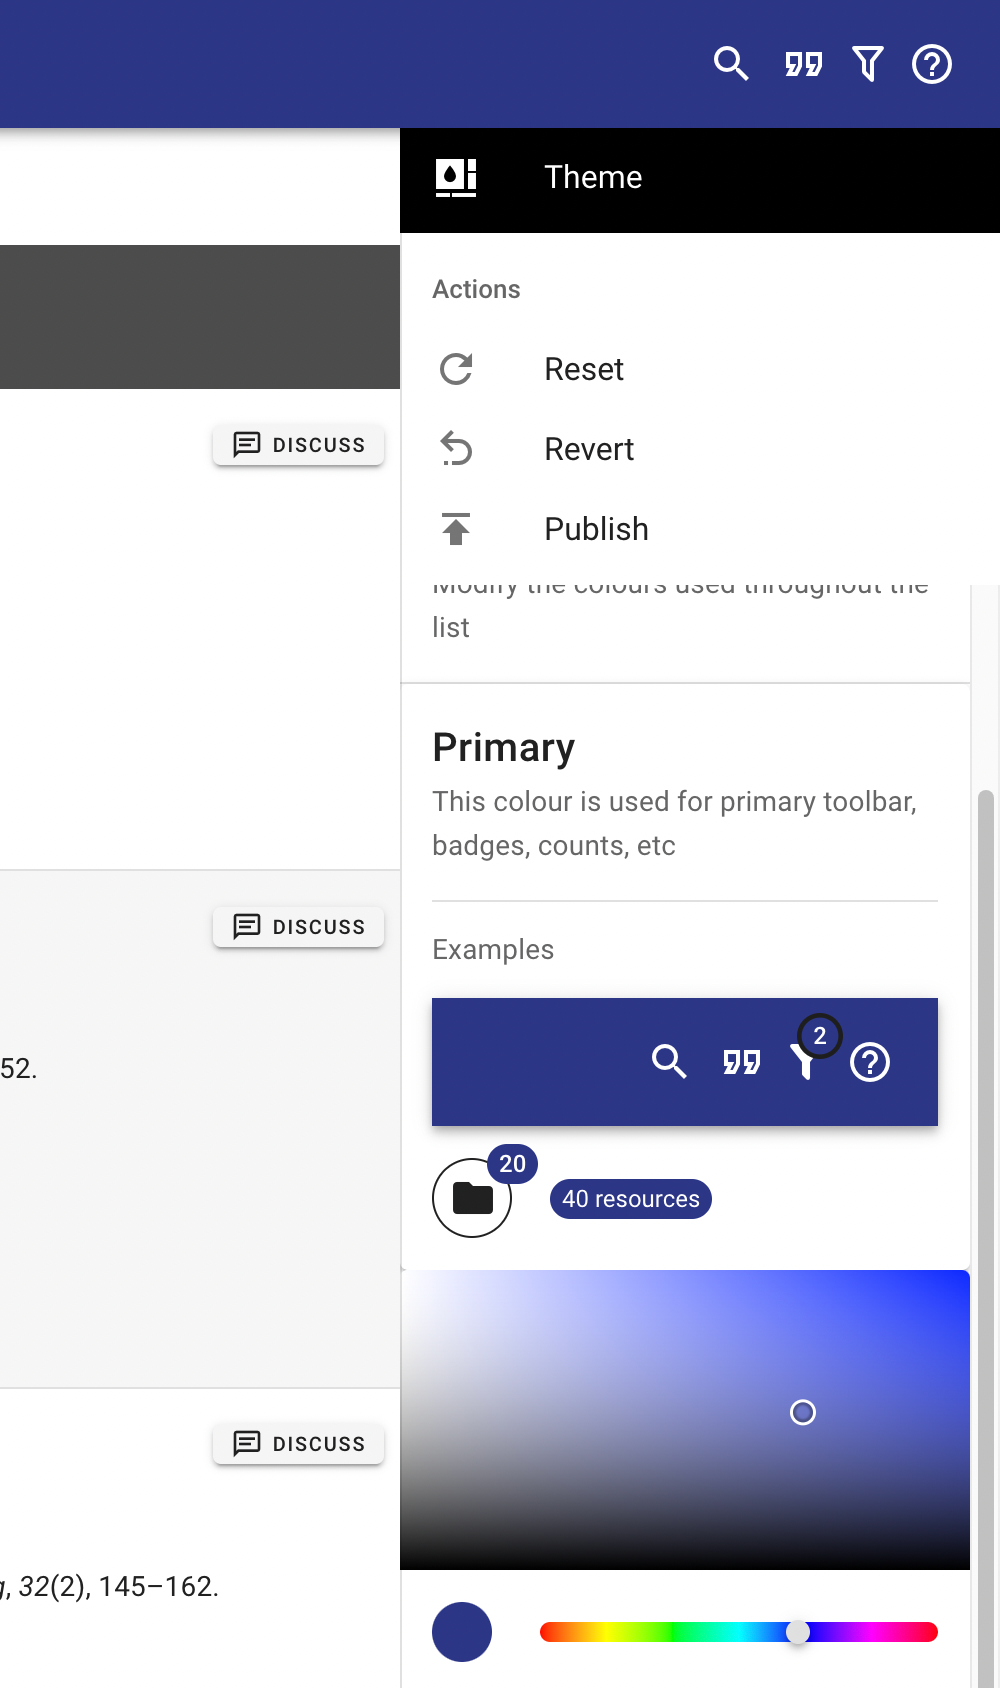
The Student List Theme editor will display an example, interactable student list where you can preview the changes as they are applied.
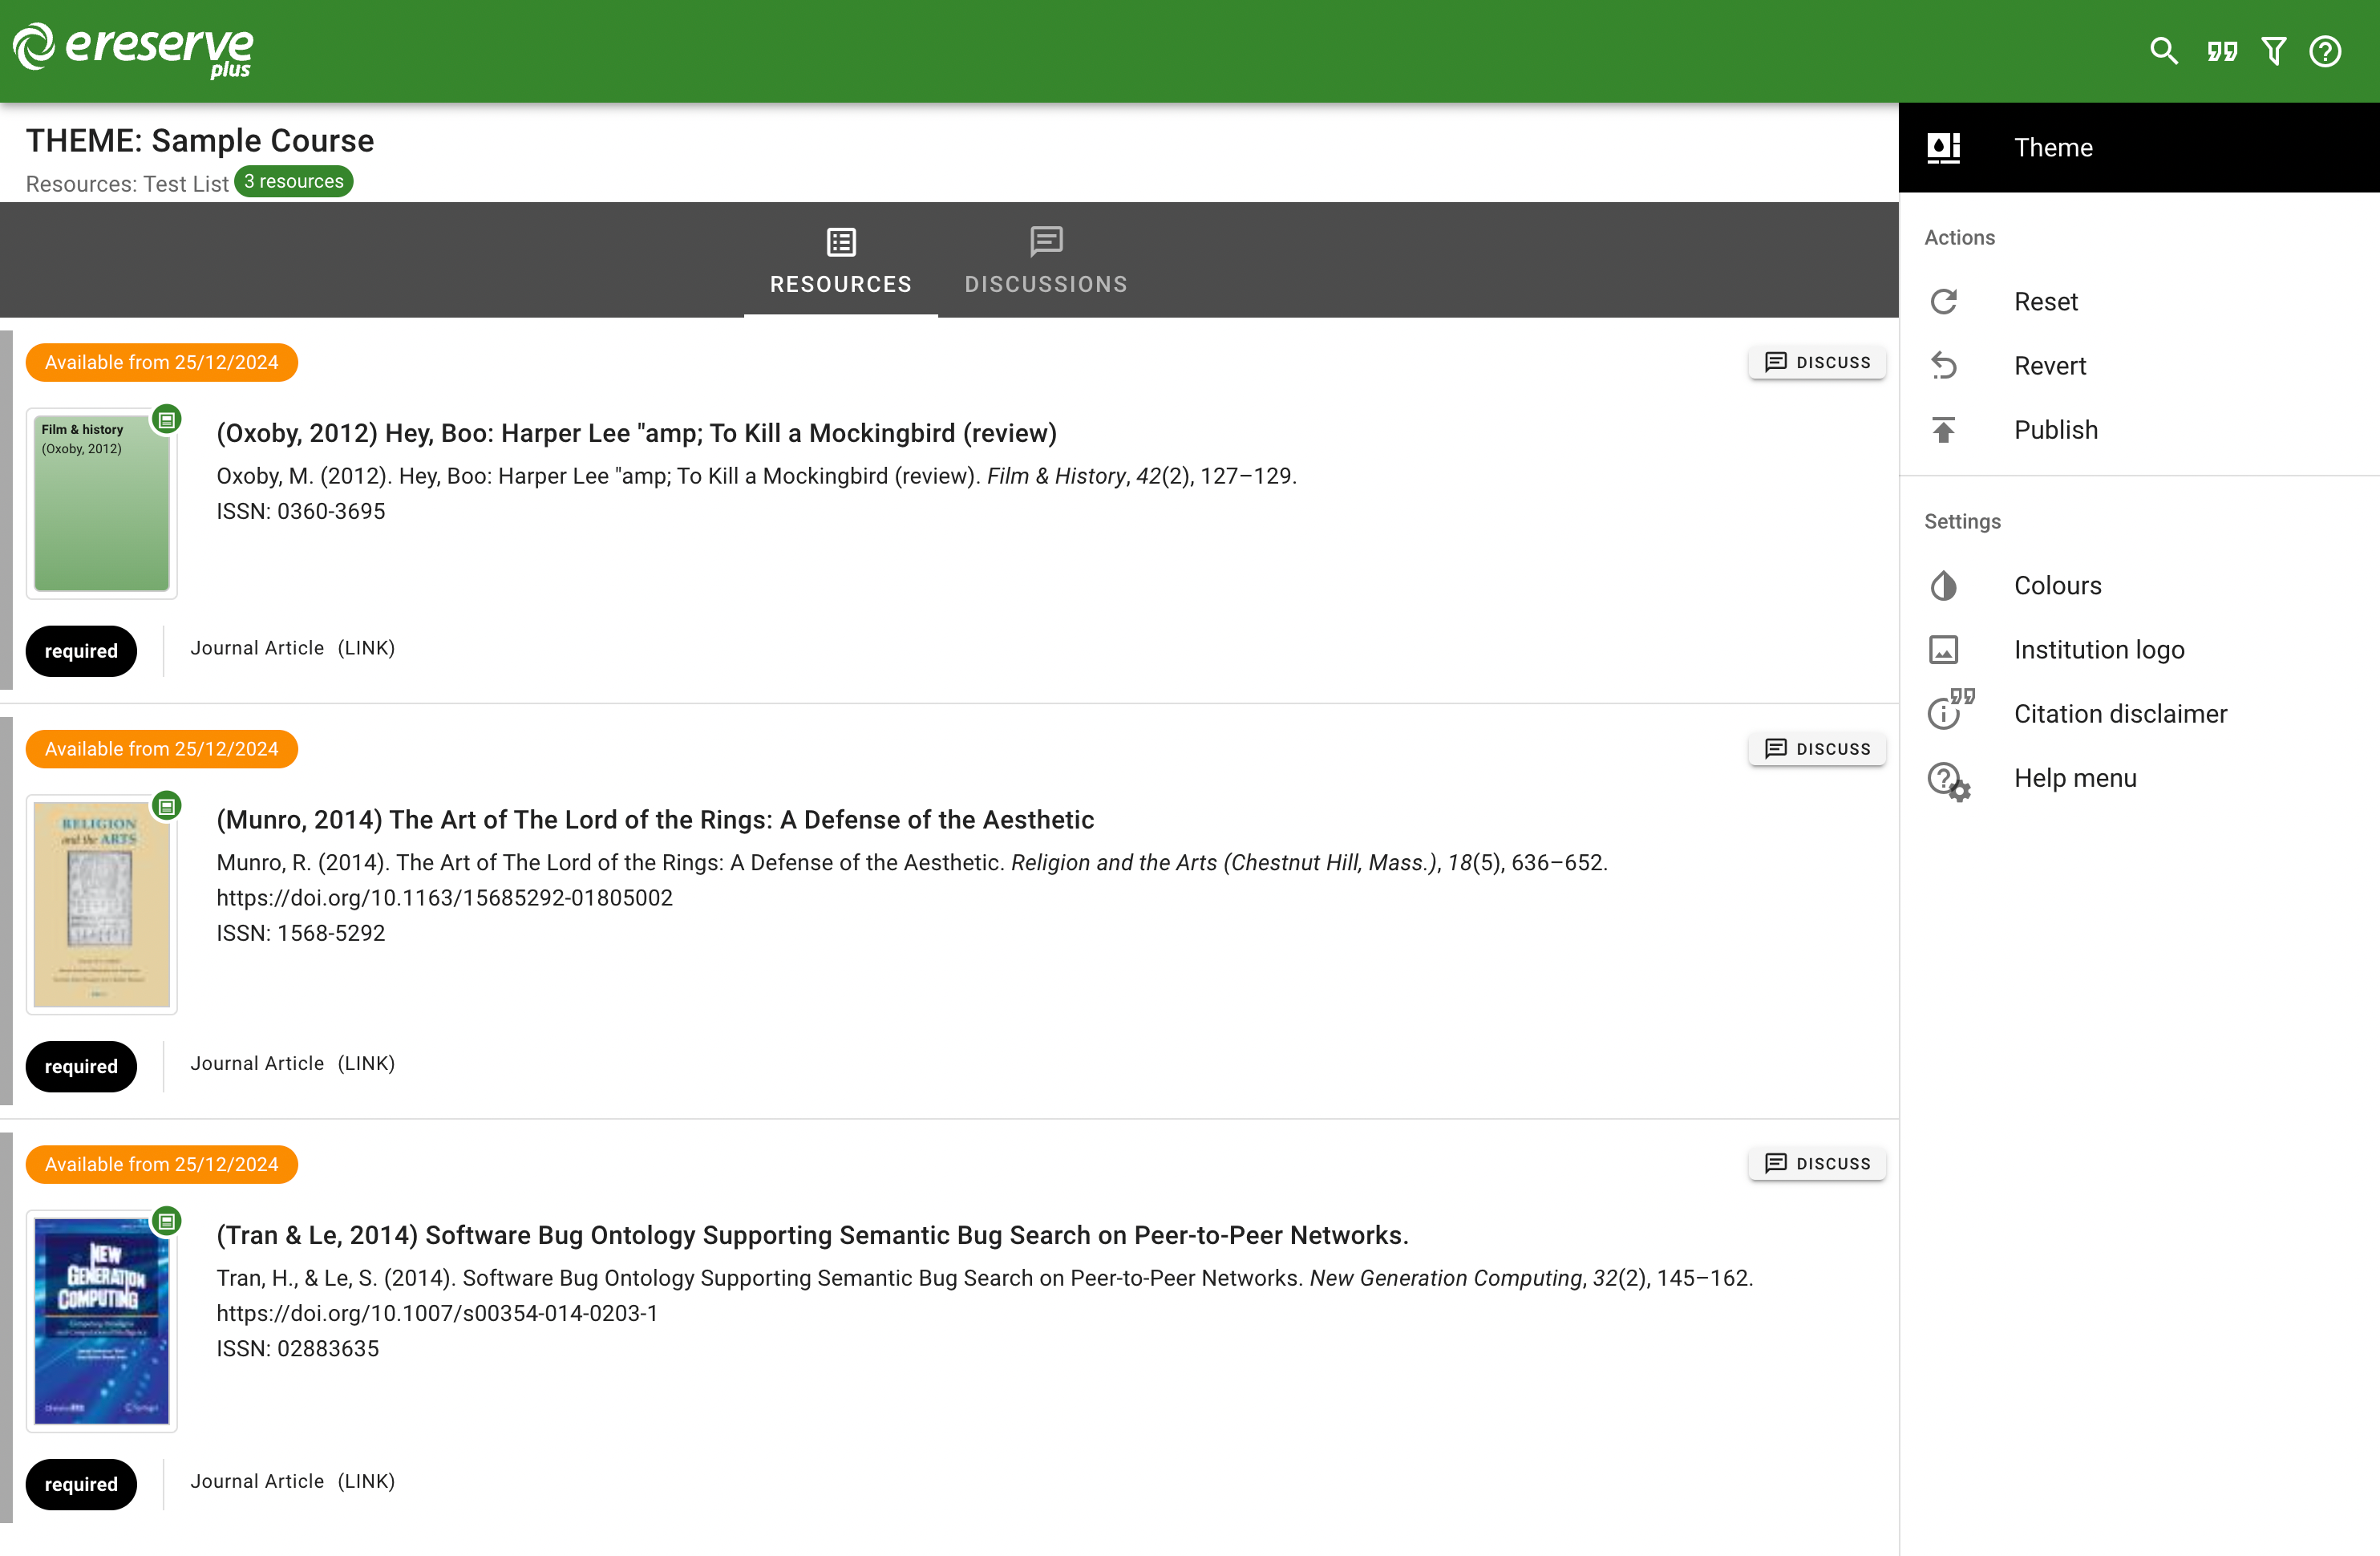
The Theme sidebar on the right contains the settings for the student theme:
- Colours
- Institution logo
- Citation Disclaimer
- Help Menu
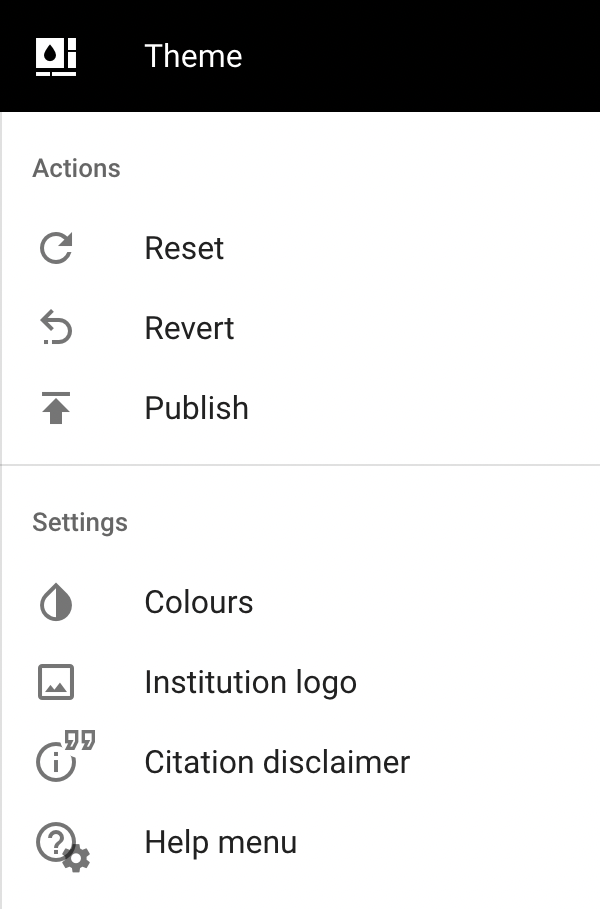
Any changes applied to the theme must be published before they are visible to users.
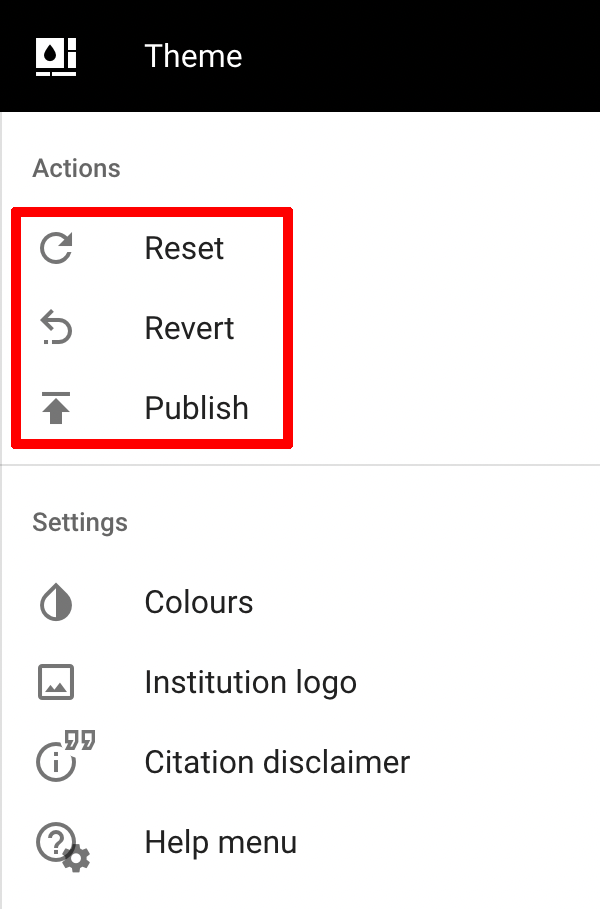
The actions section allows you to Reset, Revert or Publish changes to the theme:
- Reset - Restores the default eReserve theme and discards and changes to the theme. A confirmation popup will appear to indicate that the reverted changes will not be applied unless the reverted theme is published. You can make additional changes before publishing the theme.
- Revert - Undo any changes and restore to the last published theme. A popup will appear to confirm the revert and indicate that any current changes will be lost.
- Publish - Make any changes visible to all users. A popup will appear to confirm the changes.
Colours
eReserve includes options for changing the colours of the student interface, such as the top navigation bar, icons, buttons, etc. The background colours as well as the text colours can be changed to suit your institution.
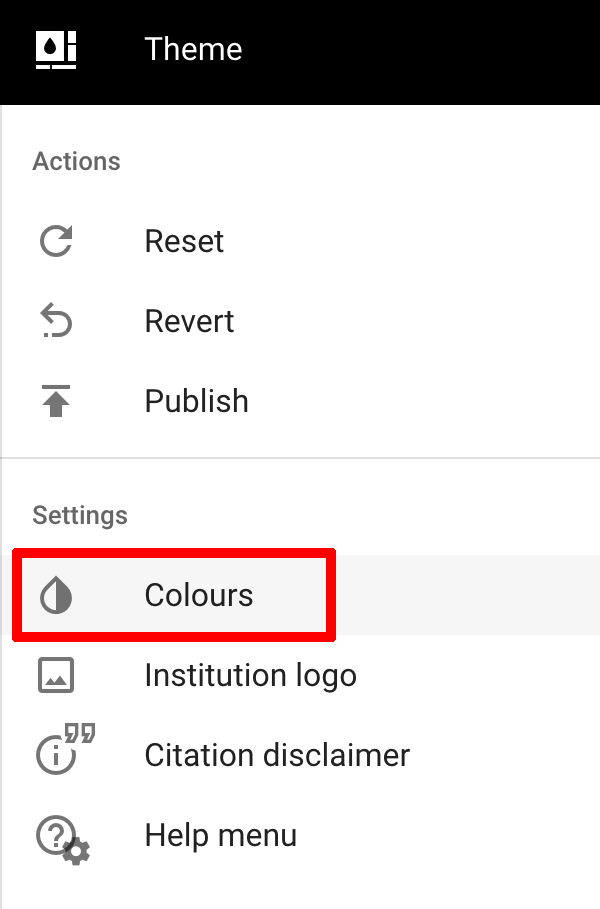
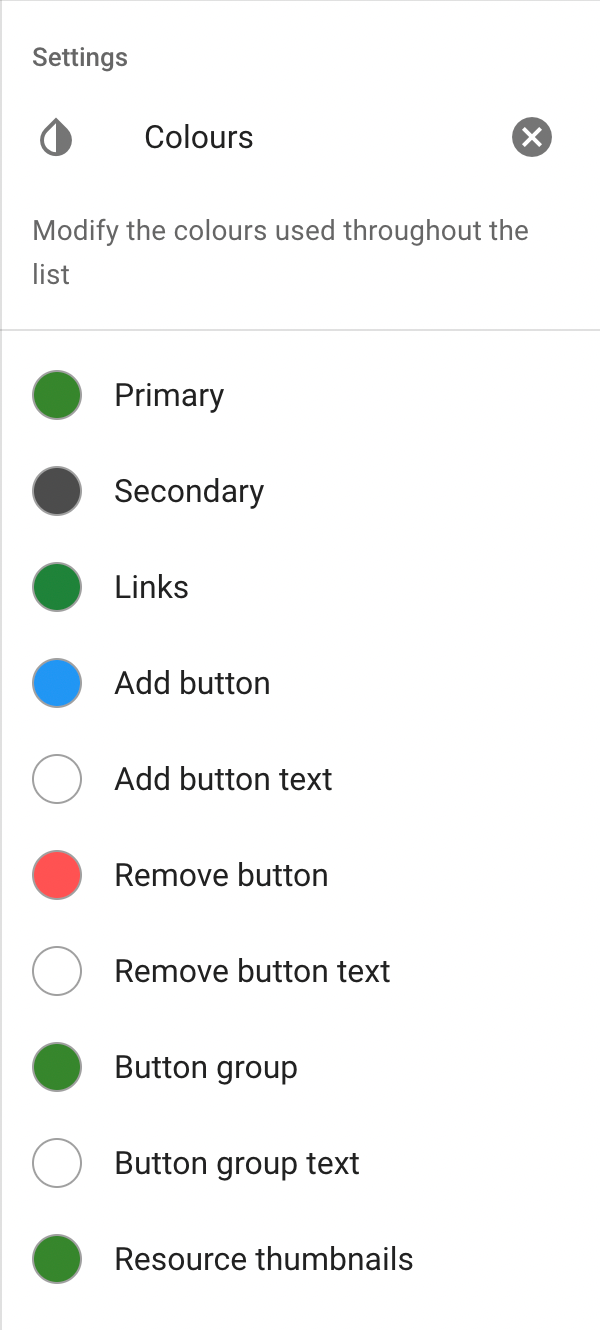
Click the Colours setting option to display a list of the available colour settings. Each colour option includes a circle on the left indicating the currently selected colour and a name on the right that describes how the colour is applied.
Selecting one of the colour options will display further details, including a description and examples of how the colour is applied.
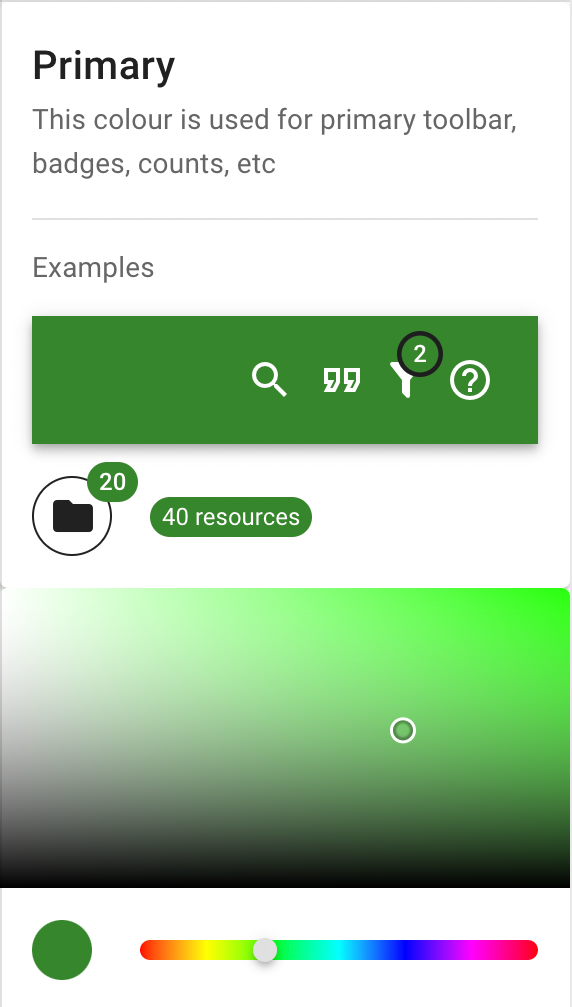
Below the examples you will see a colour picker, with a Saturation/Lightness field and a Hue bar underneath. The circle on the left indicates the currently selected colour.
Below the colour picker there is a field that shows the Hex colour code for the currently selected colour. You can enter a Hex colour code into this field to supply a specific colour.
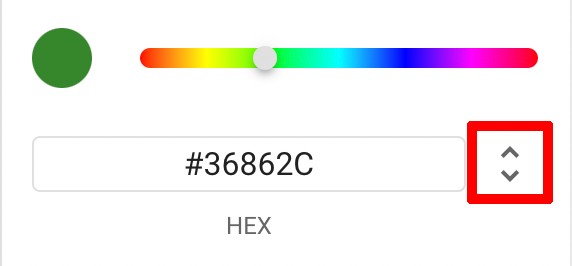
The arrow buttons to the right can be used to change the type of colour value, cycling between RGB, HSL and Hex colour values.
When a colour is selected the example section, as well as the example student list, will change dynamically to show the new colour.
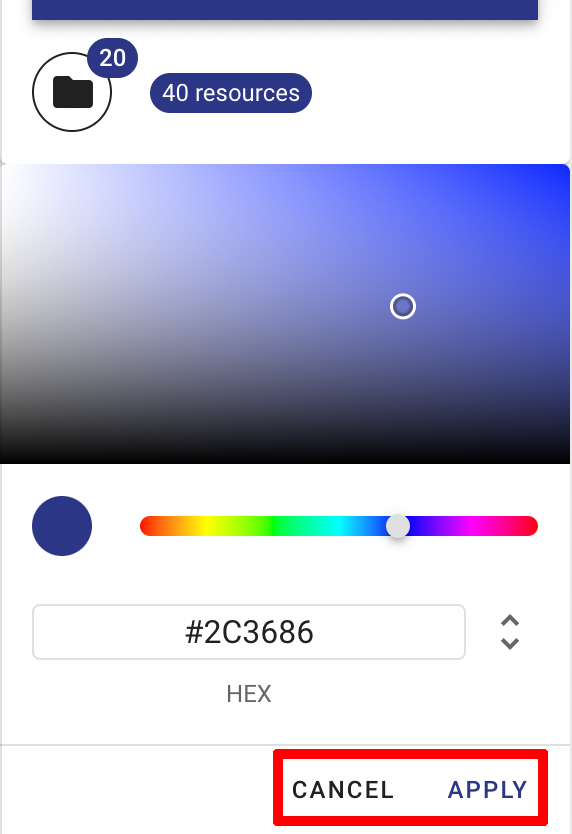
Click the Apply button to store the new colour for the theme. Click the Cancel button to undo the colour changes.
Once you are done you can click the X at the top right to go back to the theme settings menu.
Any changes to the theme colours must be published before they are visible to users.
Institution Logo
The student theme editor allows for a custom logo to be uploaded for your institution.
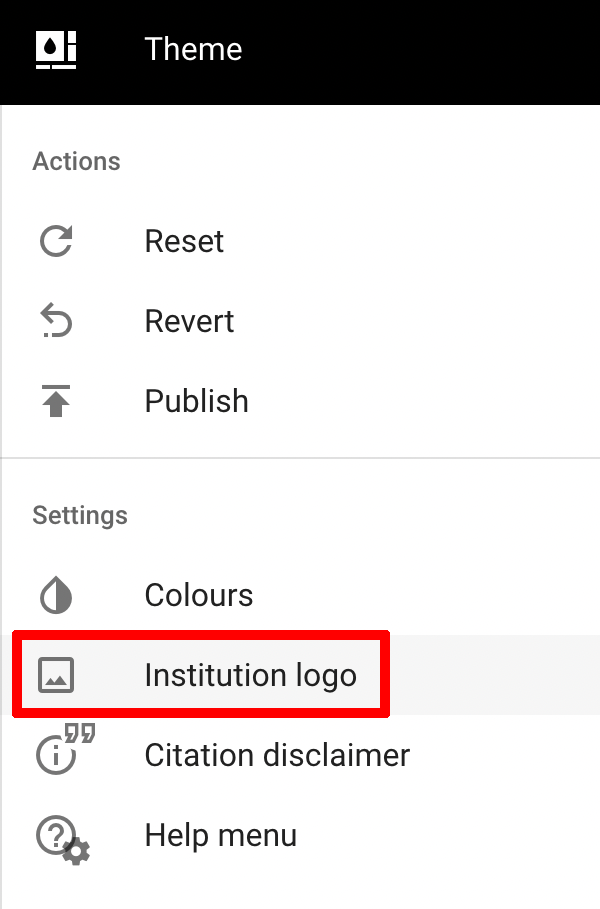
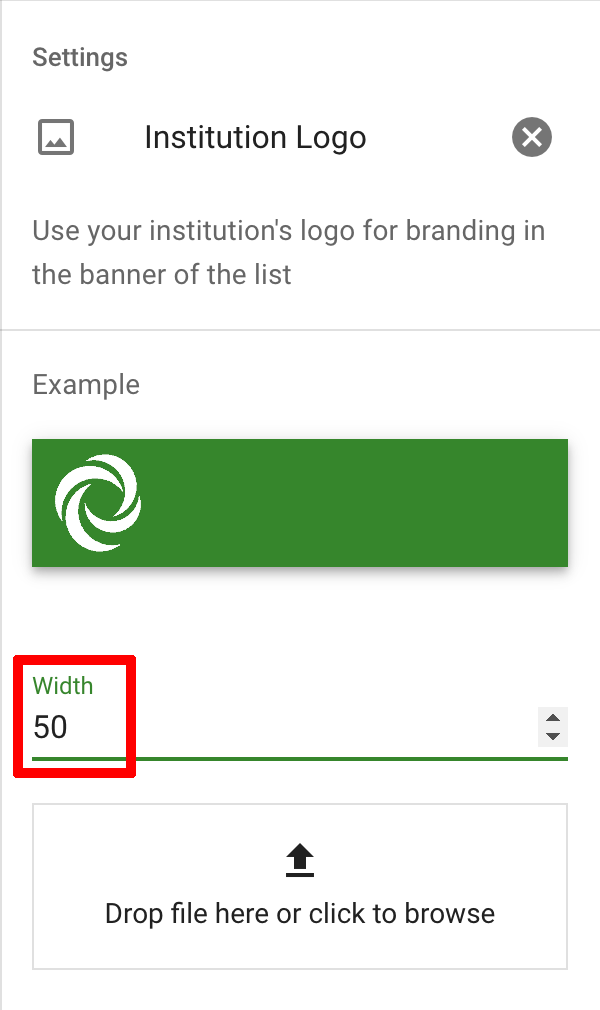
Click the Institution Logo setting option to show the options for the theme logo, with a logo example, width setting and an upload field.
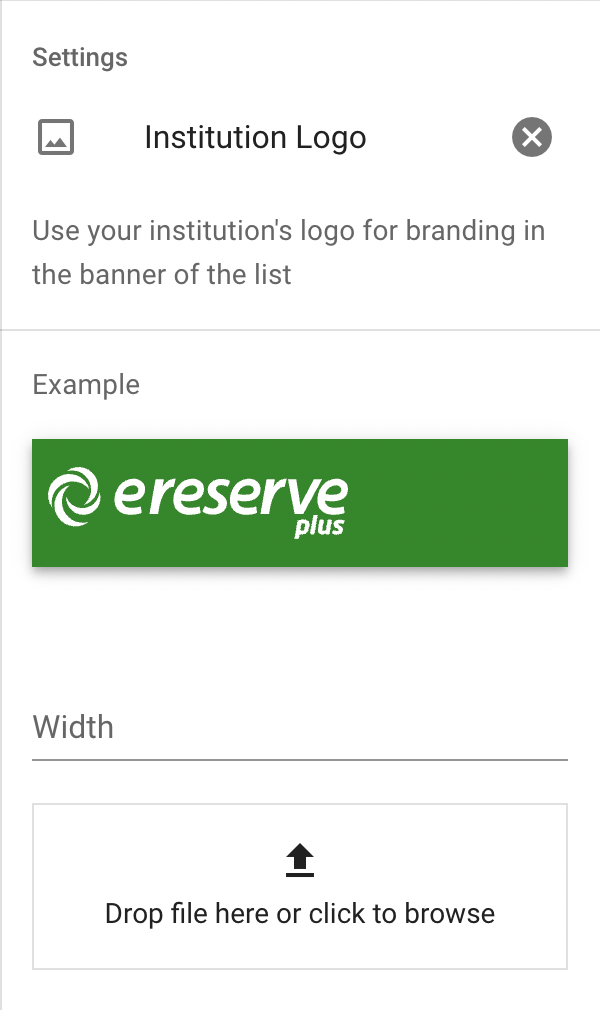
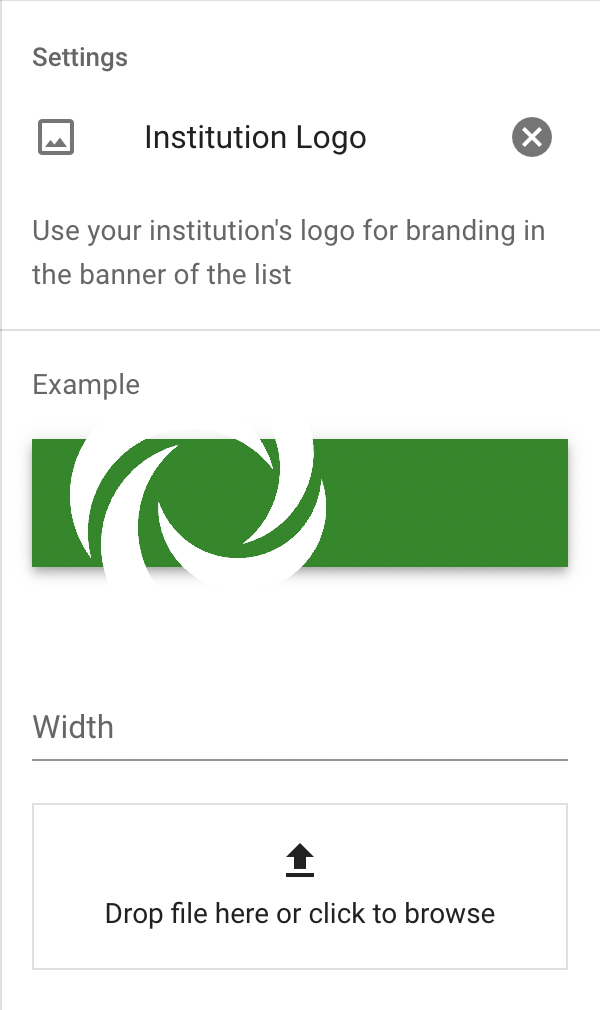
The new logo will display in the example area and as well as the example student list.
If your logo does not fit within the bar, or is too small, you can adjust the width setting for a better fit.
The default logo width is 150. You can enter a new value or use the controls on the right to adjust the logo size.
Citation Disclaimer
The student theme includes options to display a citation disclaimer button that will show a customisable disclaimer message for students. The disclaimer can be customised in the Citation disclaimer options.
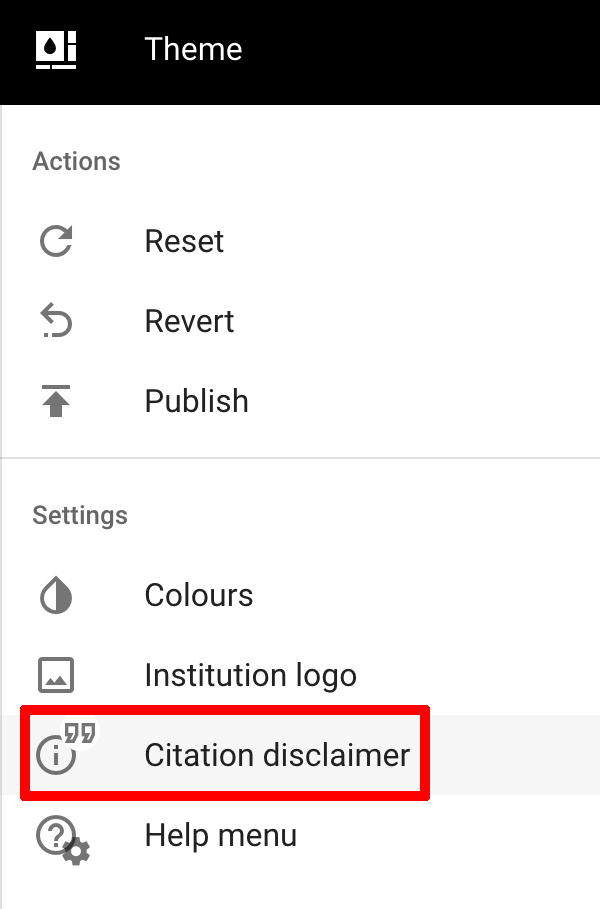
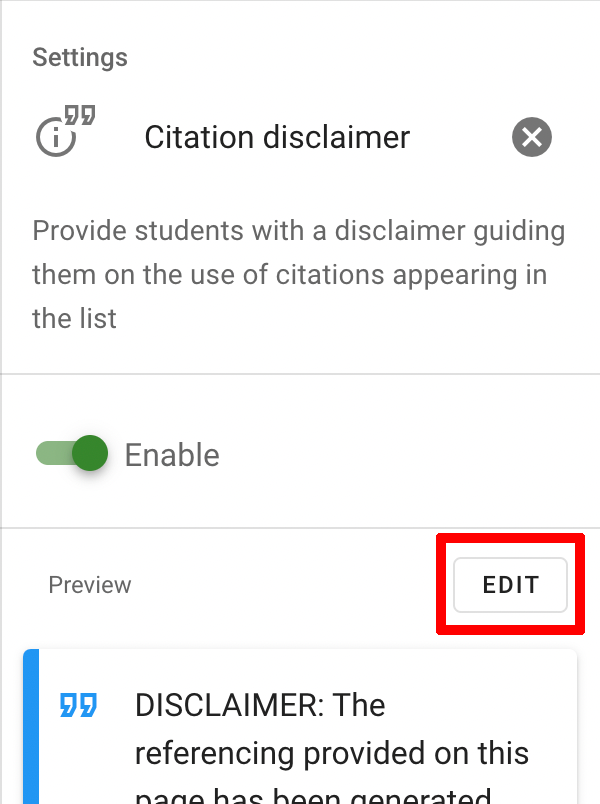
Click the Citation disclaimer option to display the settings. By default the citation disclaimer is disabled, click the switch to enable the citation disclaimer.
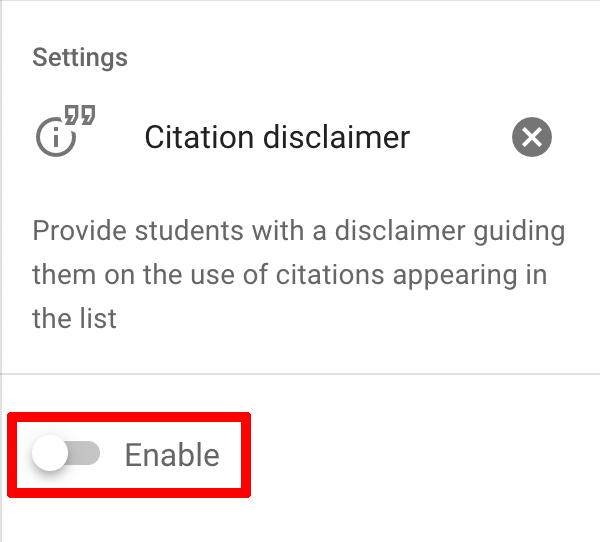
Once enabled an example citation disclaimer will appear, and the citation disclaimer button will appear at the top right of the example student theme.

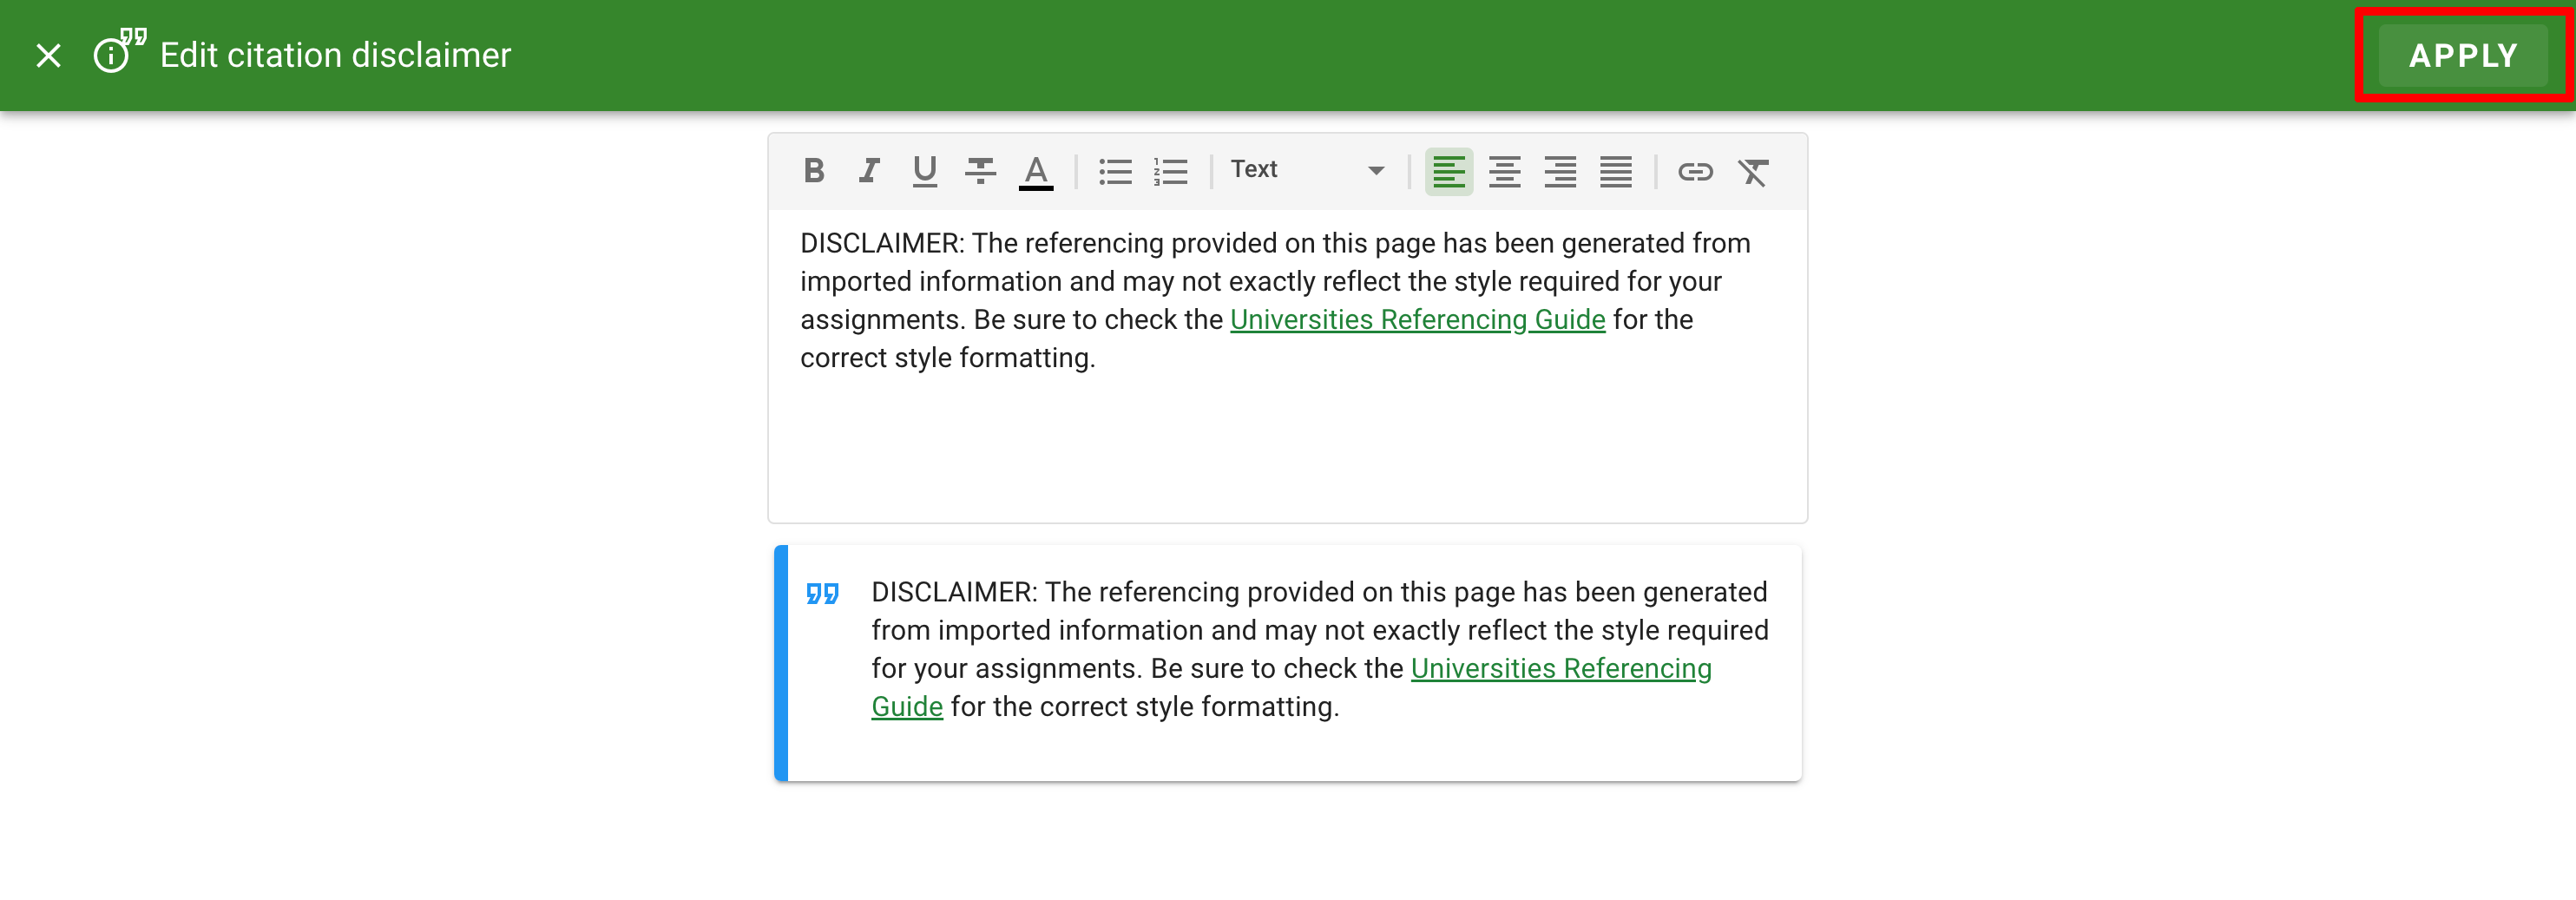
Click the Edit button on the preview to change the citation disclaimer, this will open a popup with an editor and a preview of the citation disclaimer.

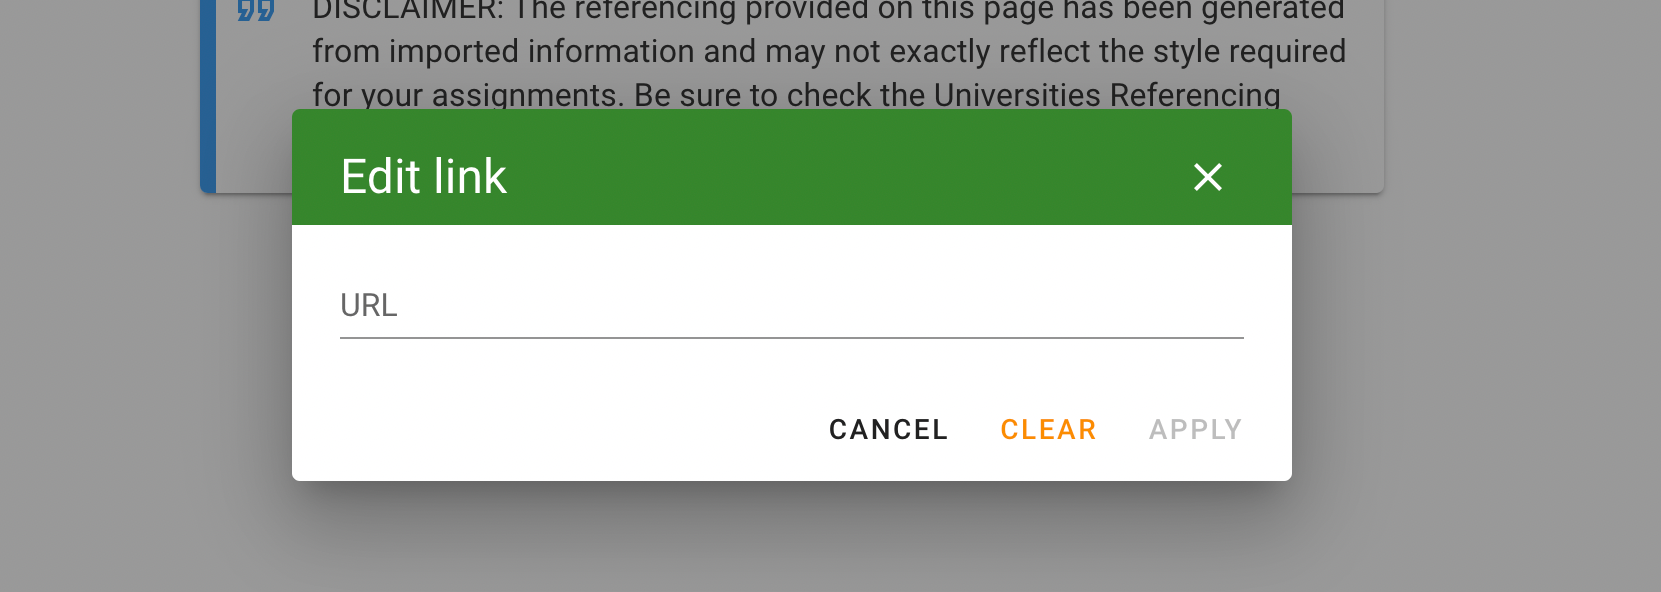
The editor includes a toolbar with text formatting options. A link option is available on the right of the editor toolbar to allow a link to external examples or information to be included in the disclaimer.

Once your citation disclaimer is ready, click the Apply button at the top right. You can click the X button at the top left to go back and discard any changes.

Help Menu
eReserve includes help resources for students to navigate and use the features of the student list interface. These help resources can be disabled and re-ordered, and you can also add new custom help resources to the menu.
The default eReserve help resources are displayed within the student list interface, whereas custom help resources are linked to external help.
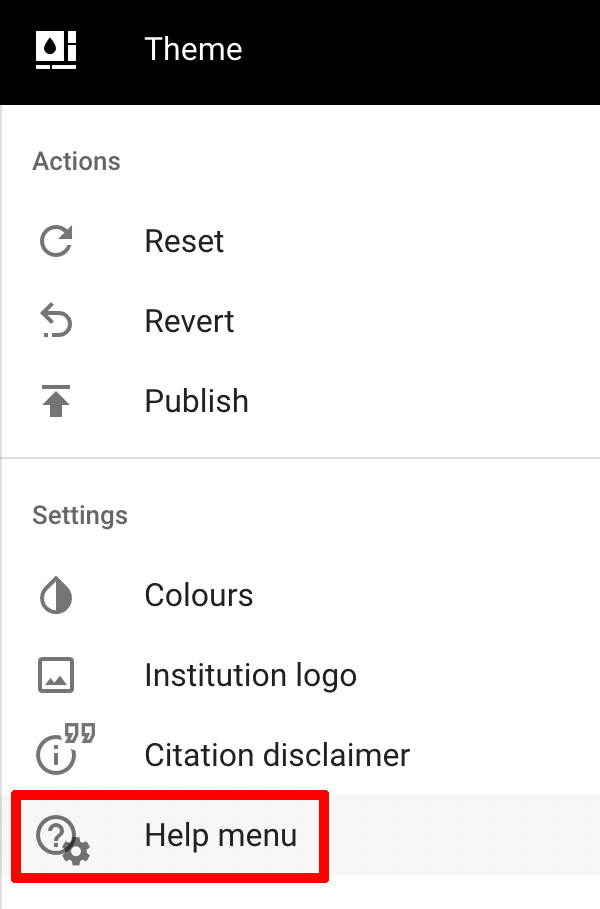
Click the Help menu option to display the default student help items and settings.
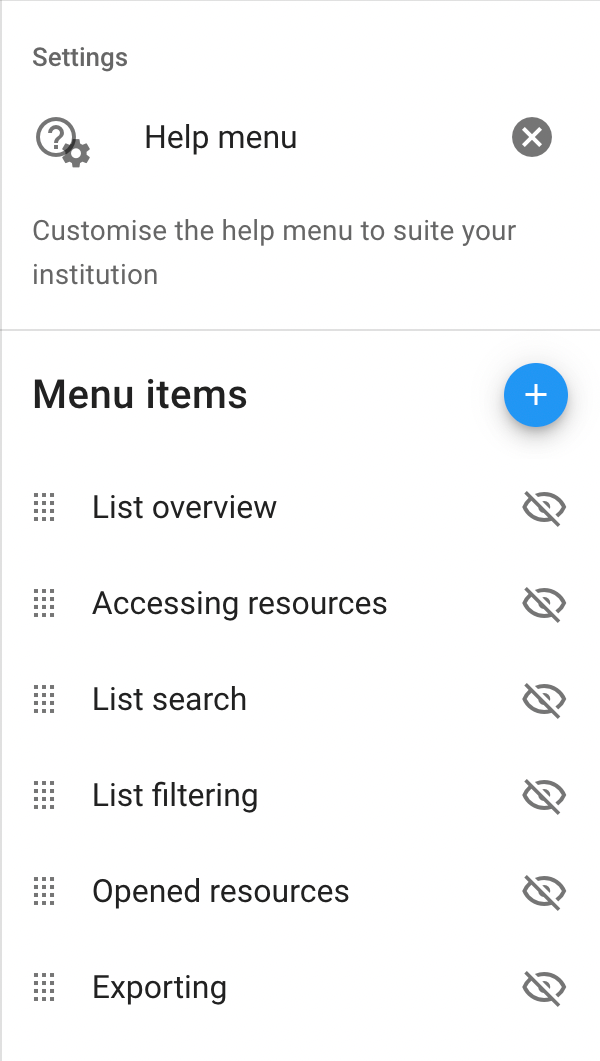

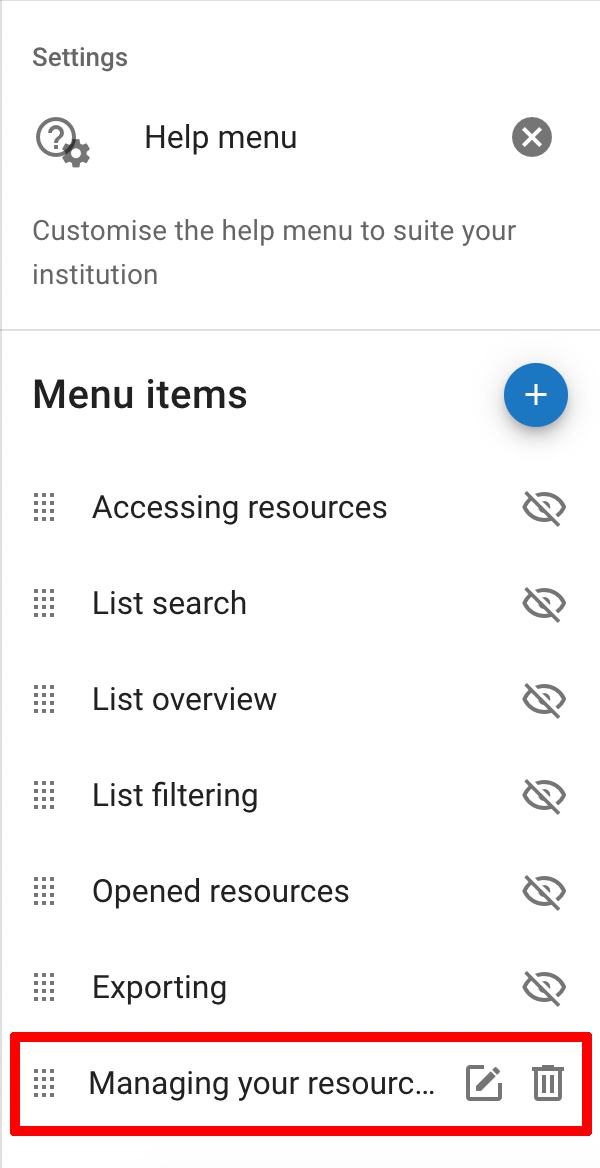
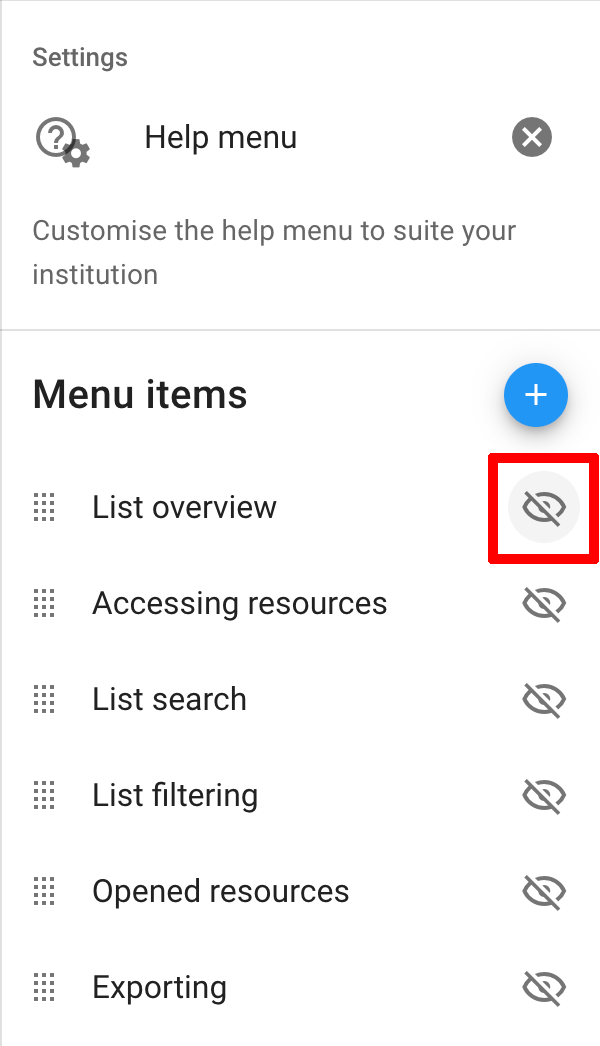
Each default help resource can be hidden from the menu by clicking the hide icon on the right.
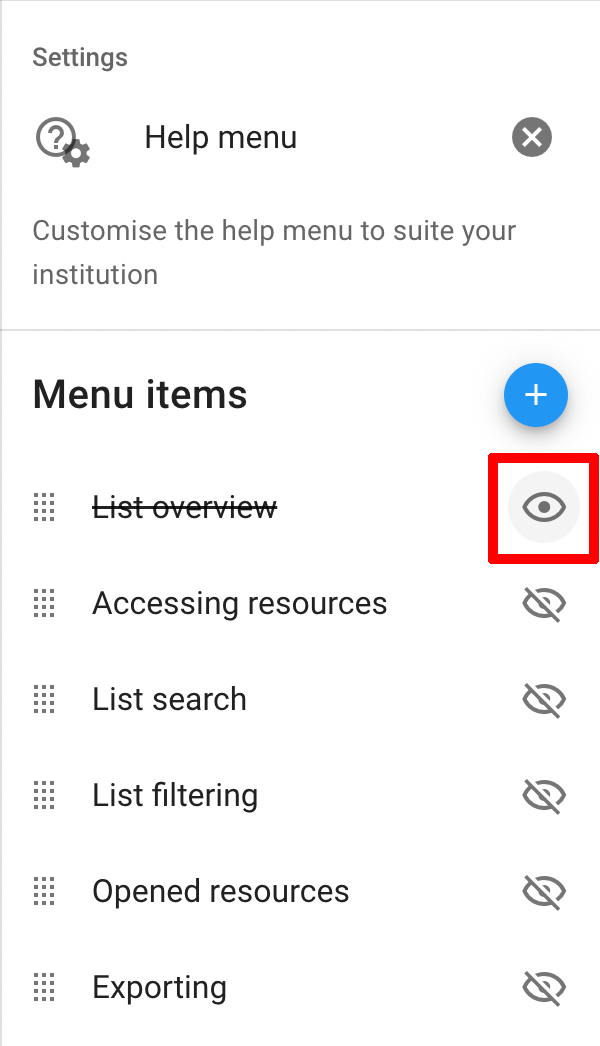
A hidden help resource is shown with a strikethrough, and can be restored by clicking on the show icon on the right.
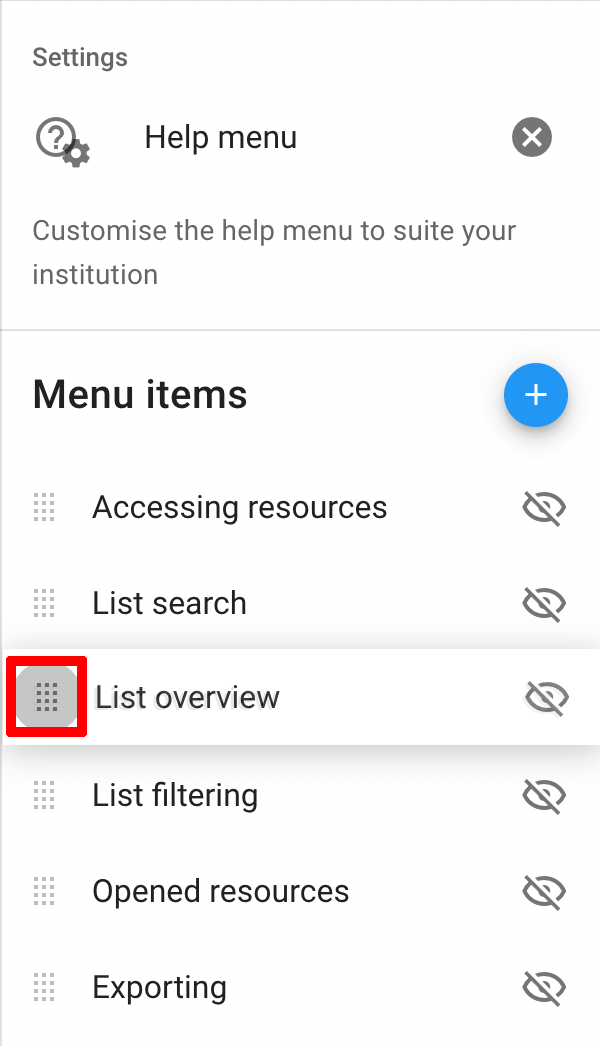
The list of help resources can be re-ordered using the drag and drop handle on the left. Click and drag the handle to move a help resource to a new position on the list.
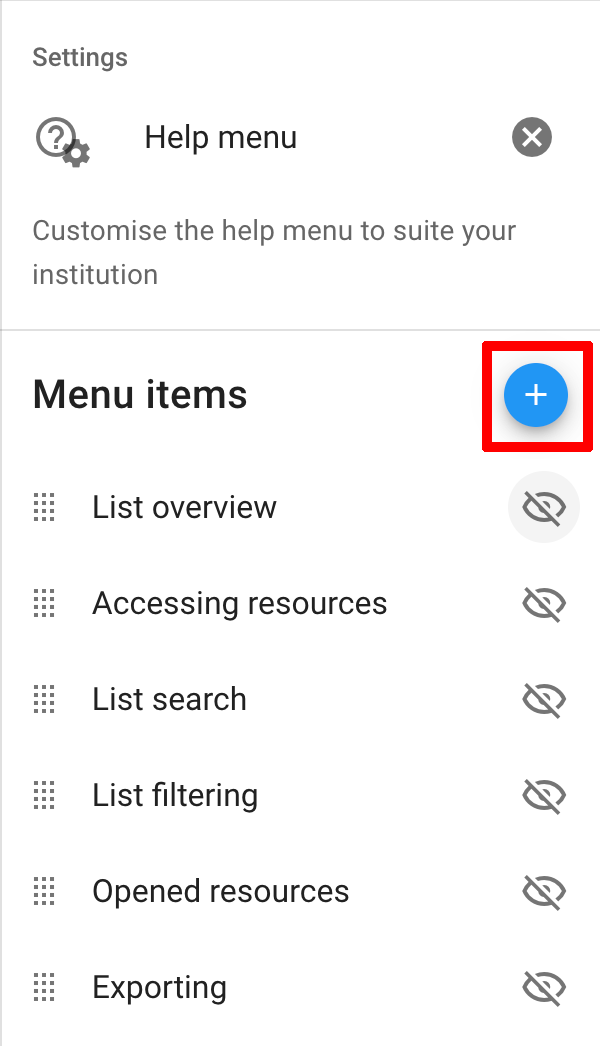
To add a new help resource to the help menu, click the add button at the top right.
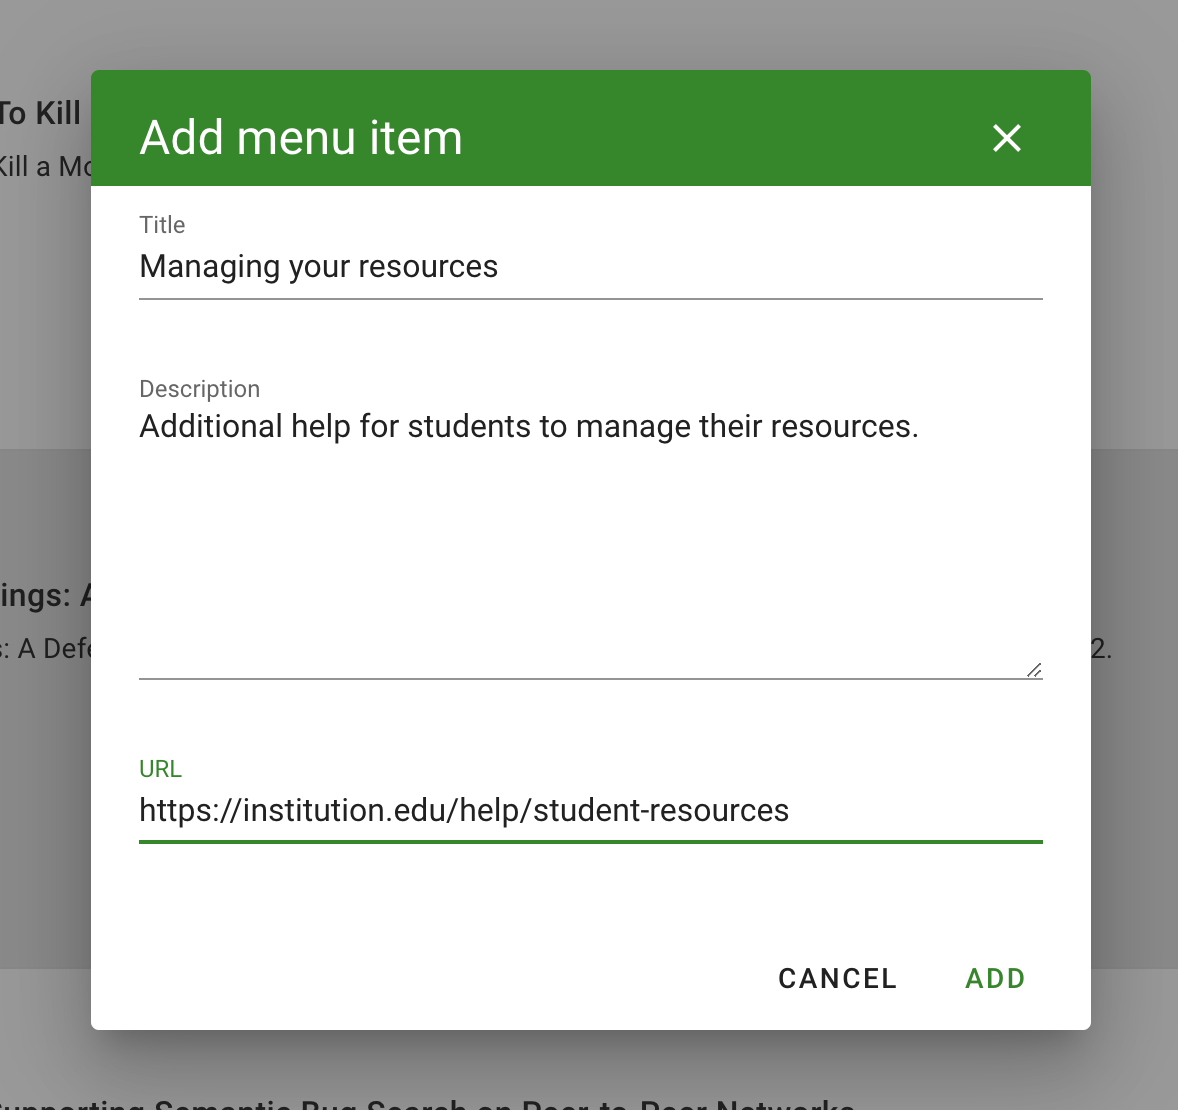
A popup will appear where you can enter the details for the help item. Enter a title, short description that will appear in the help menu, and the URL to the external help resource.
The new help resource can be edited by clicking the edit icon to the right, or it can be deleted using the delete icon.
